
Open a form from Forms (opens in a new tab) and select Edit form. Write directly in the editor, mixing text and questions in the order people should see them. For a worked example, follow Create your first form.
Choose your questions
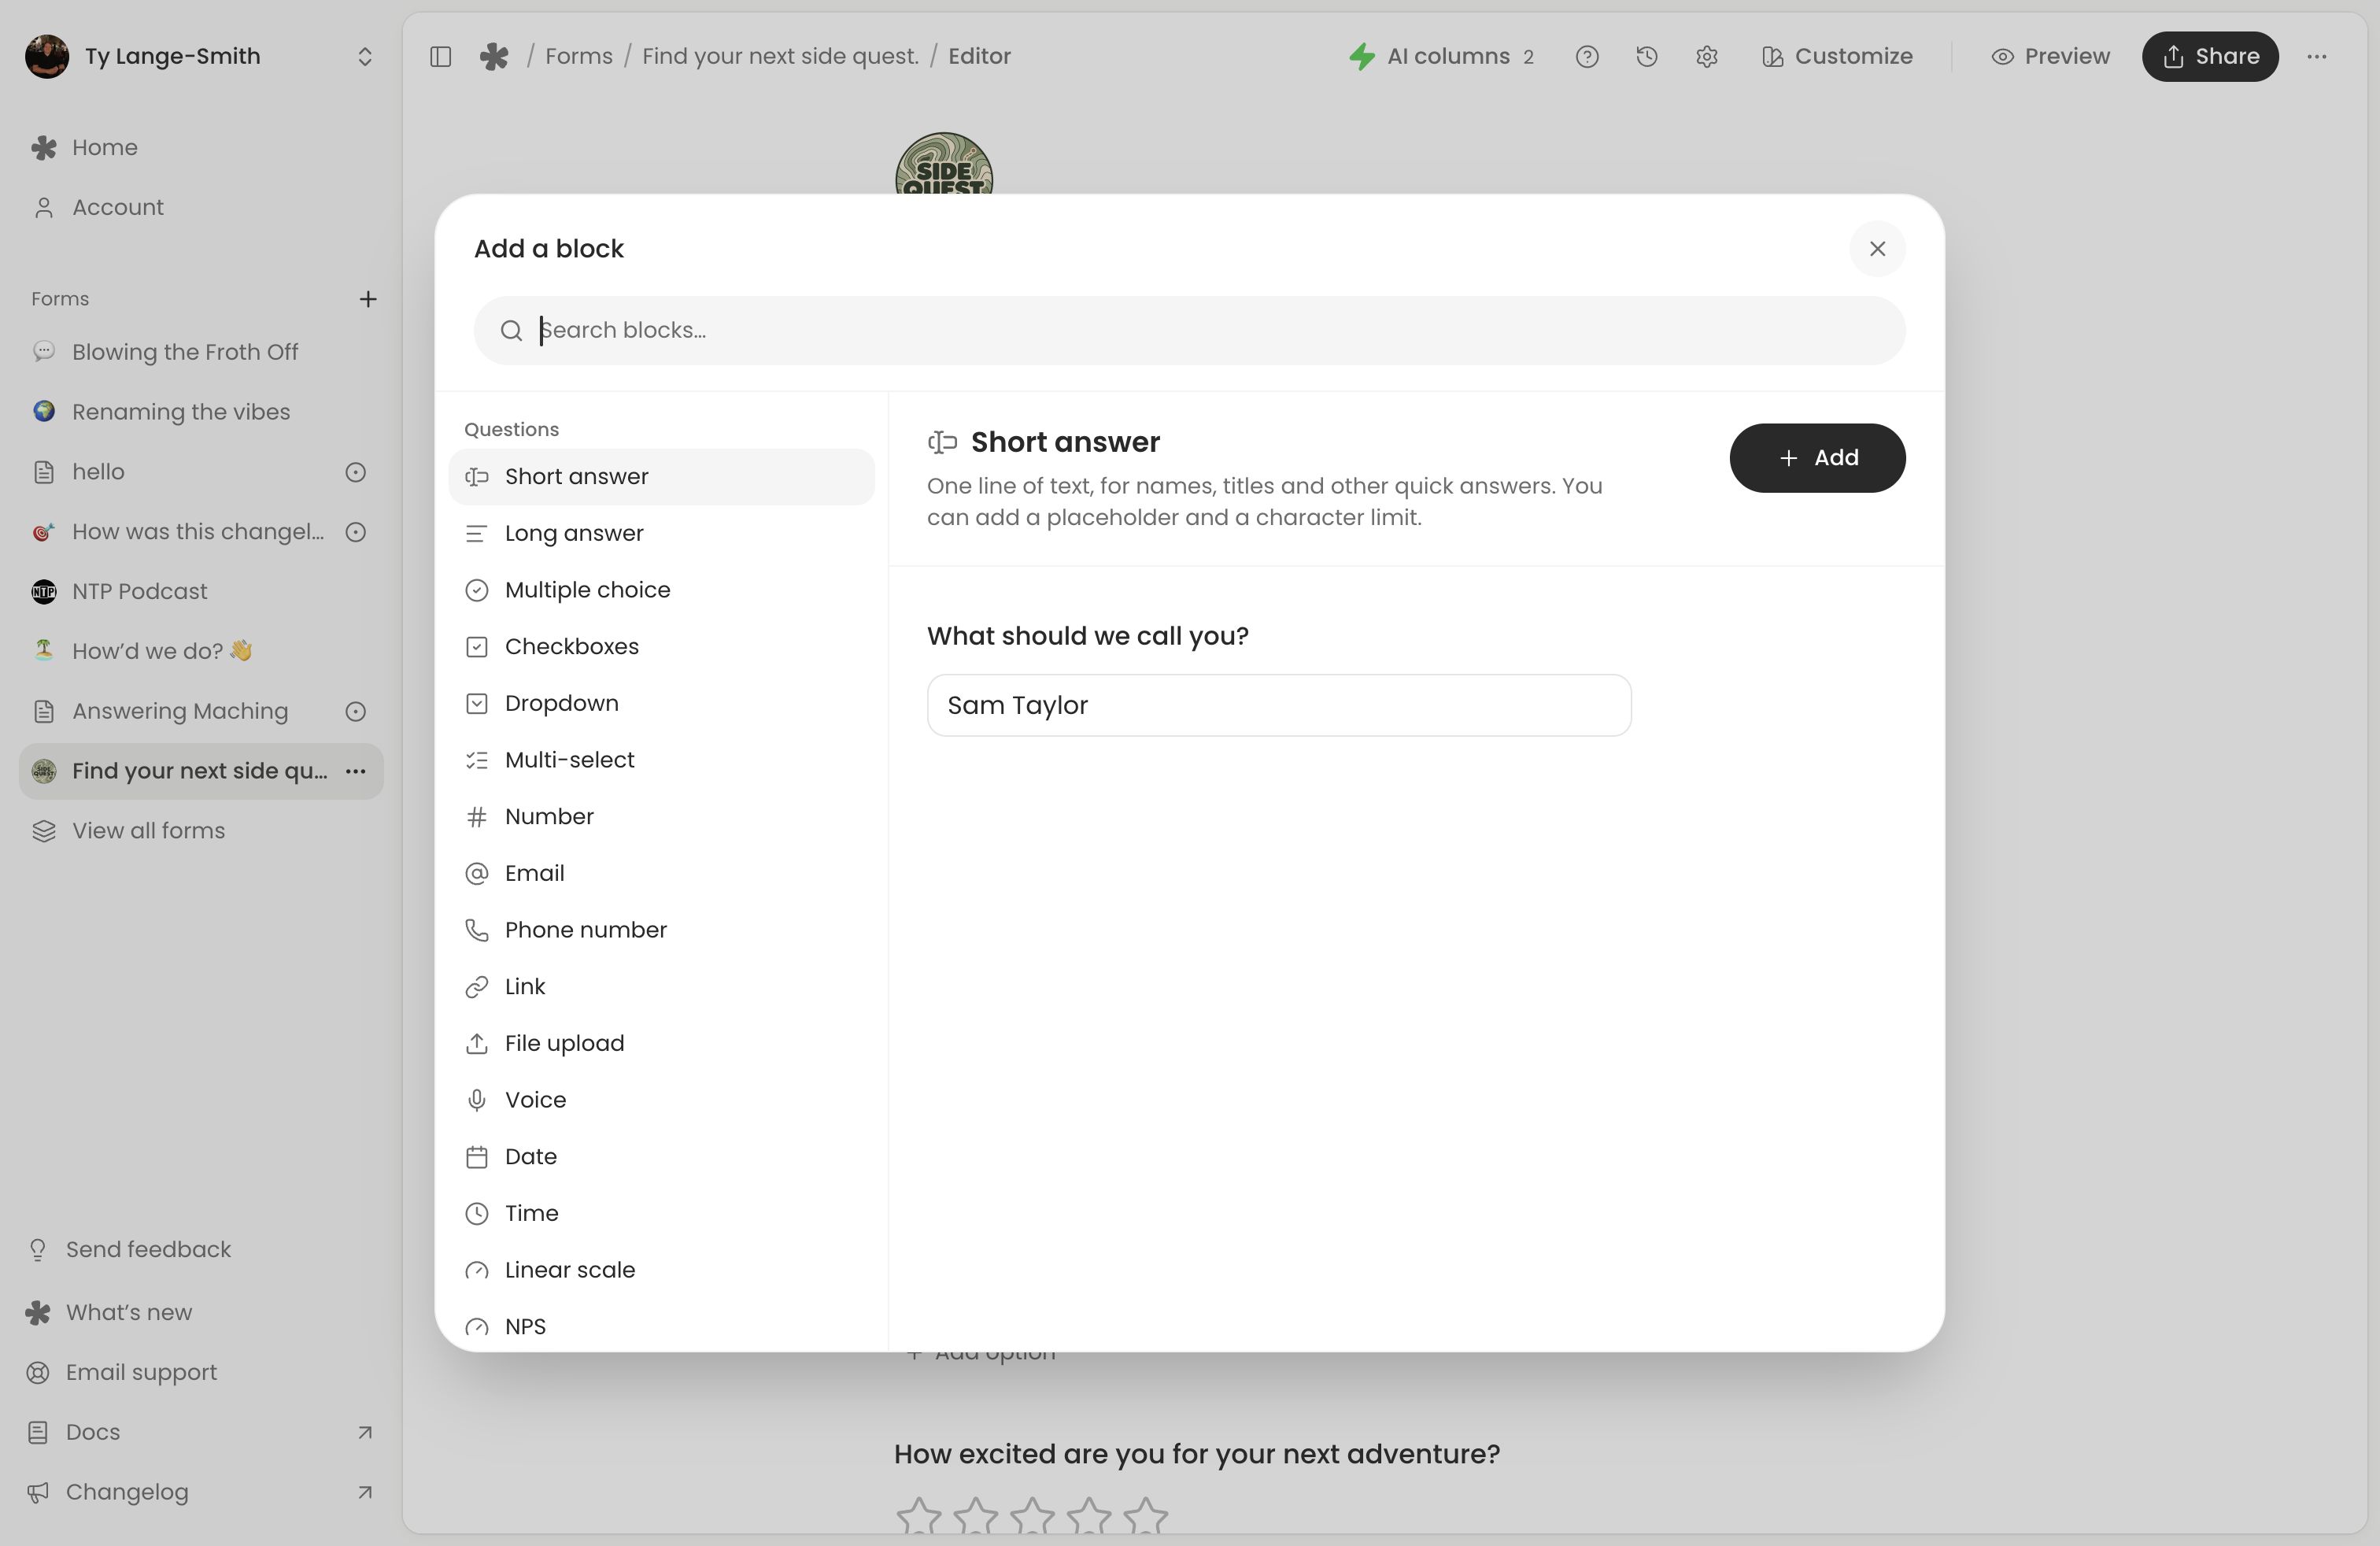
Click + beside or between blocks to open Add a block. Type / on an empty line to search for a block. Choose a question and add it where you want people to answer.
For every question type and its settings, use the block reference. Name and email are ordinary questions you add when needed.
Edit labels, descriptions and requirements
Write the question label in place. Open its block menu using the handle, then turn on Description to add supporting text. Turn on Required when everyone needs to answer before submitting; leave it off to let people skip the question.
Use Default answer to start a supported question with the same answer for everyone. For personalised links and display options, see Pre-fill answers and hidden fields.
The Label switch hides the question label. Keep nearby text clear enough to explain the field.
Name questions in Responses
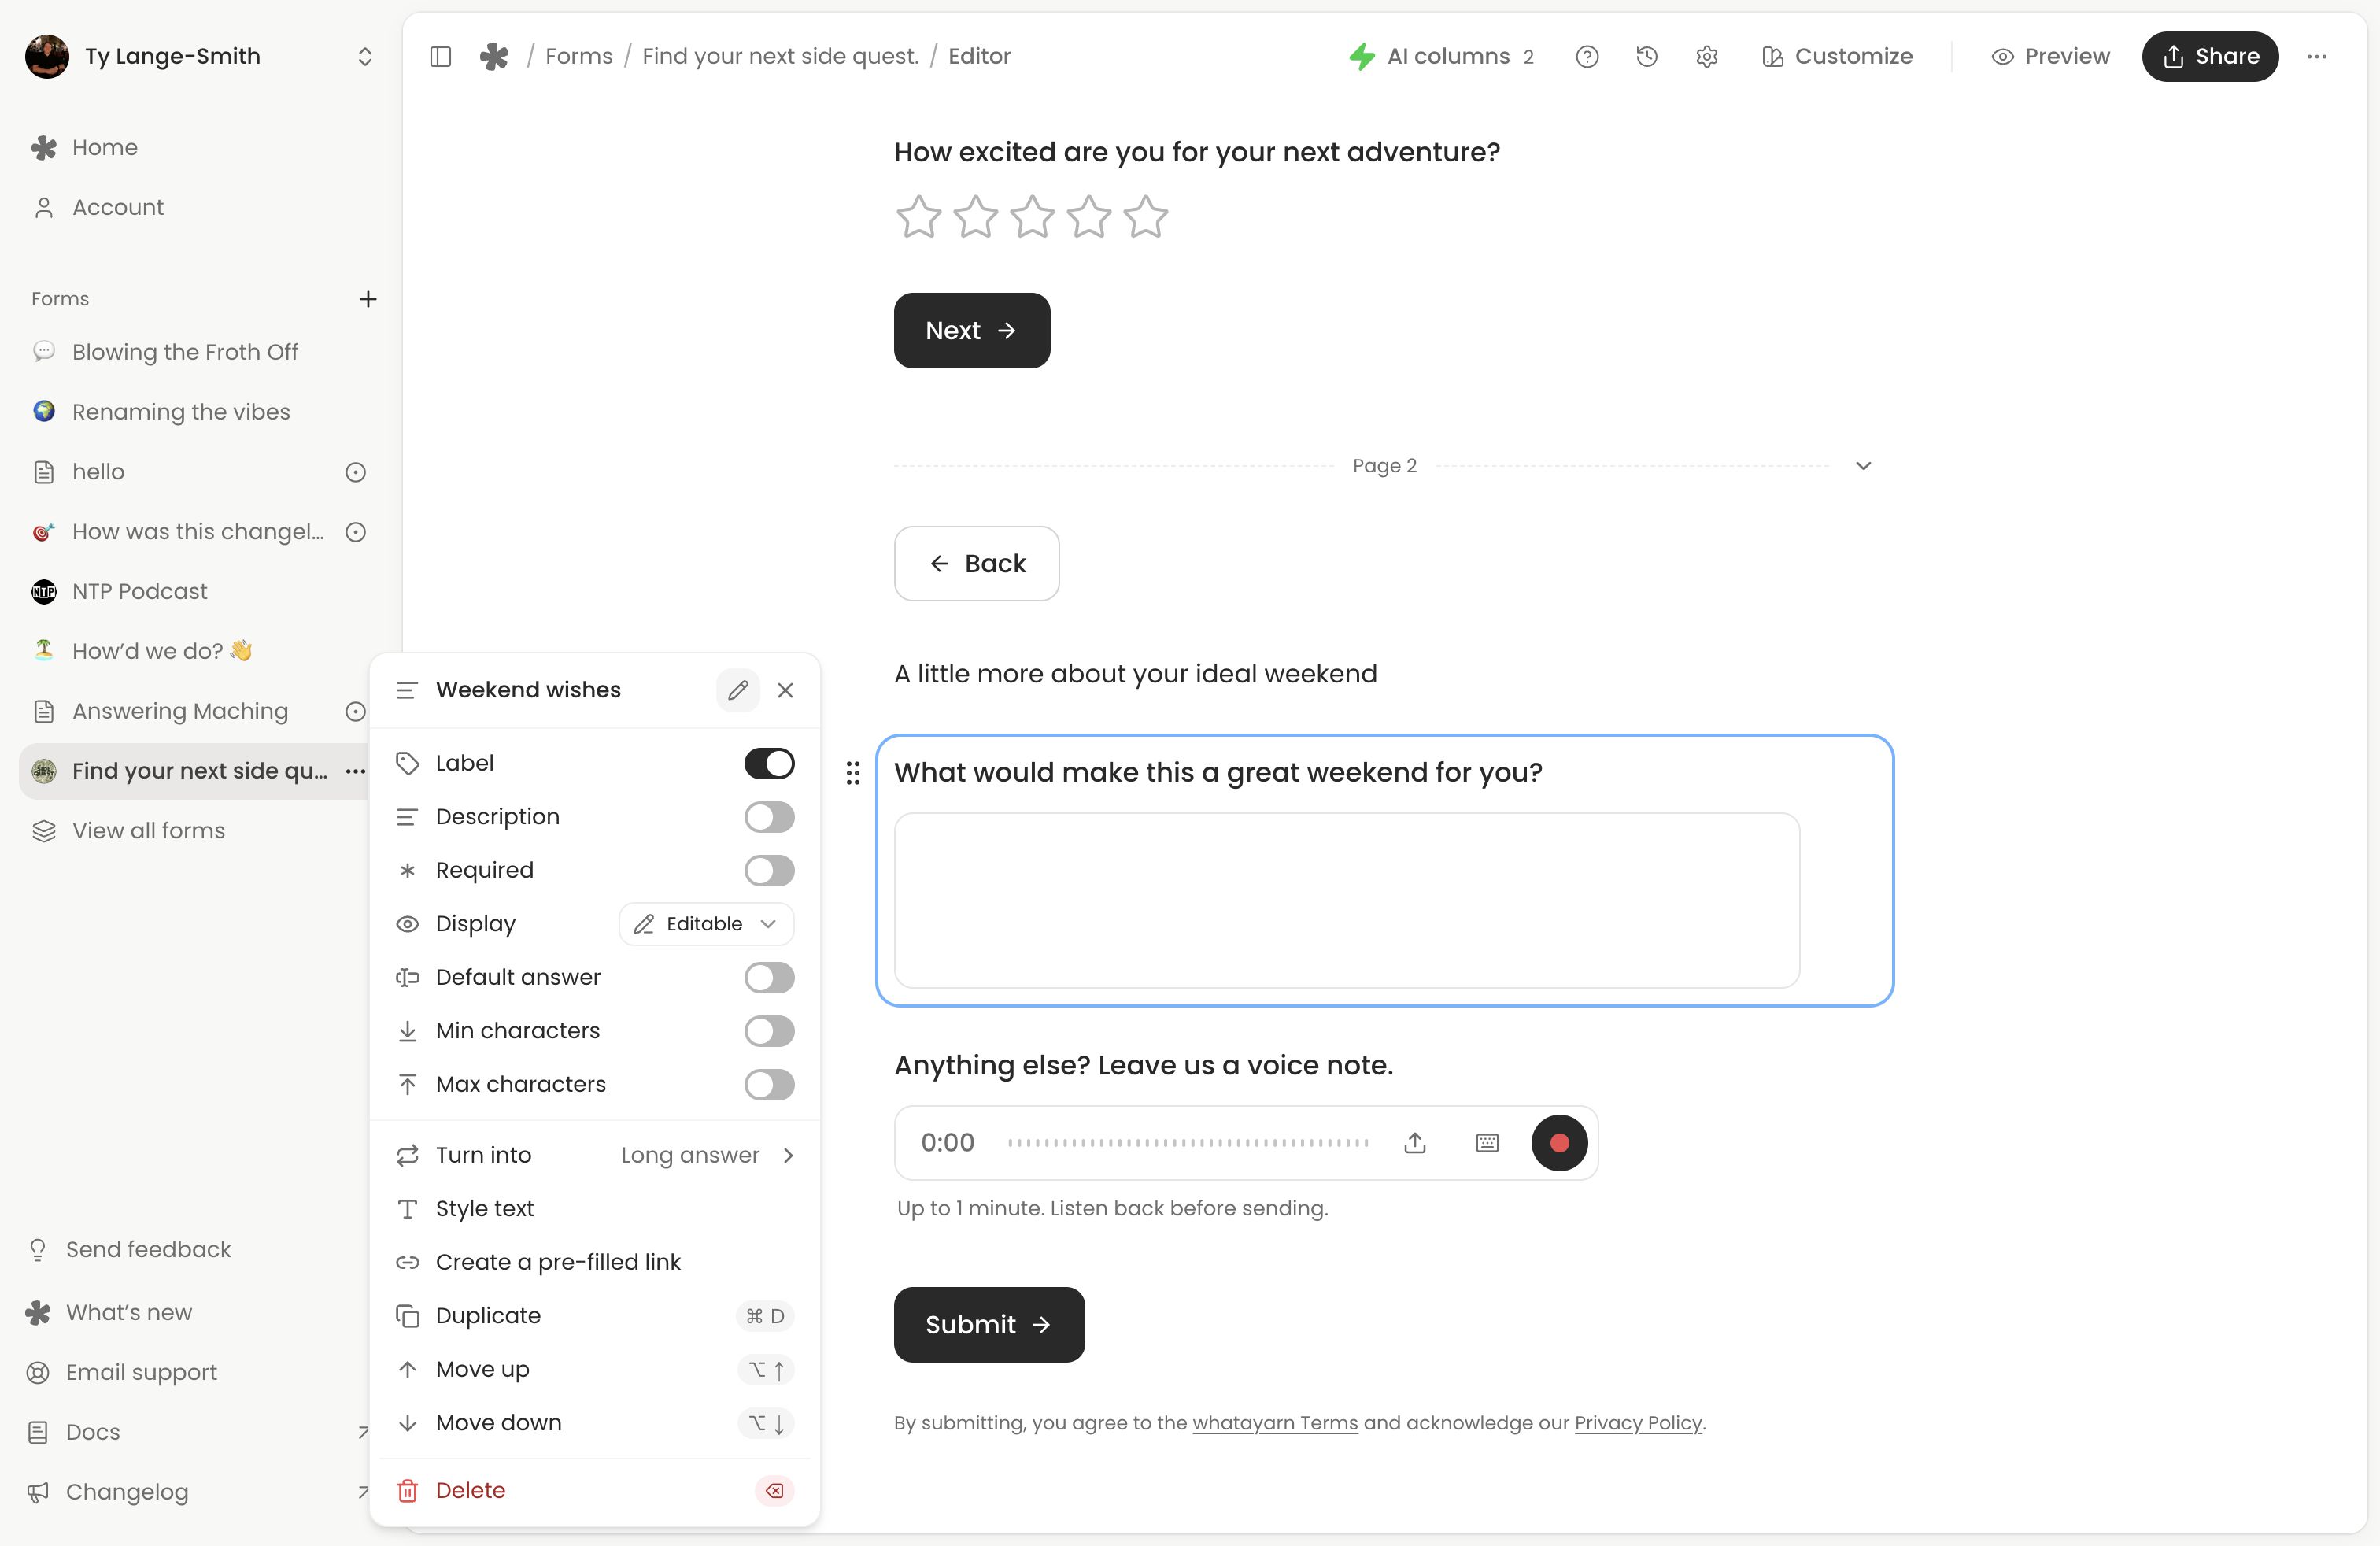
Open the block menu and select the pencil button Rename in responses. Enter a shorter name and save it. For example, “What would you like us to improve?” can become Feedback in your response table while respondents still see the full question.
Clear the custom name to follow the label again. Moving or renaming a question keeps its existing answers associated with it.
Organise the flow
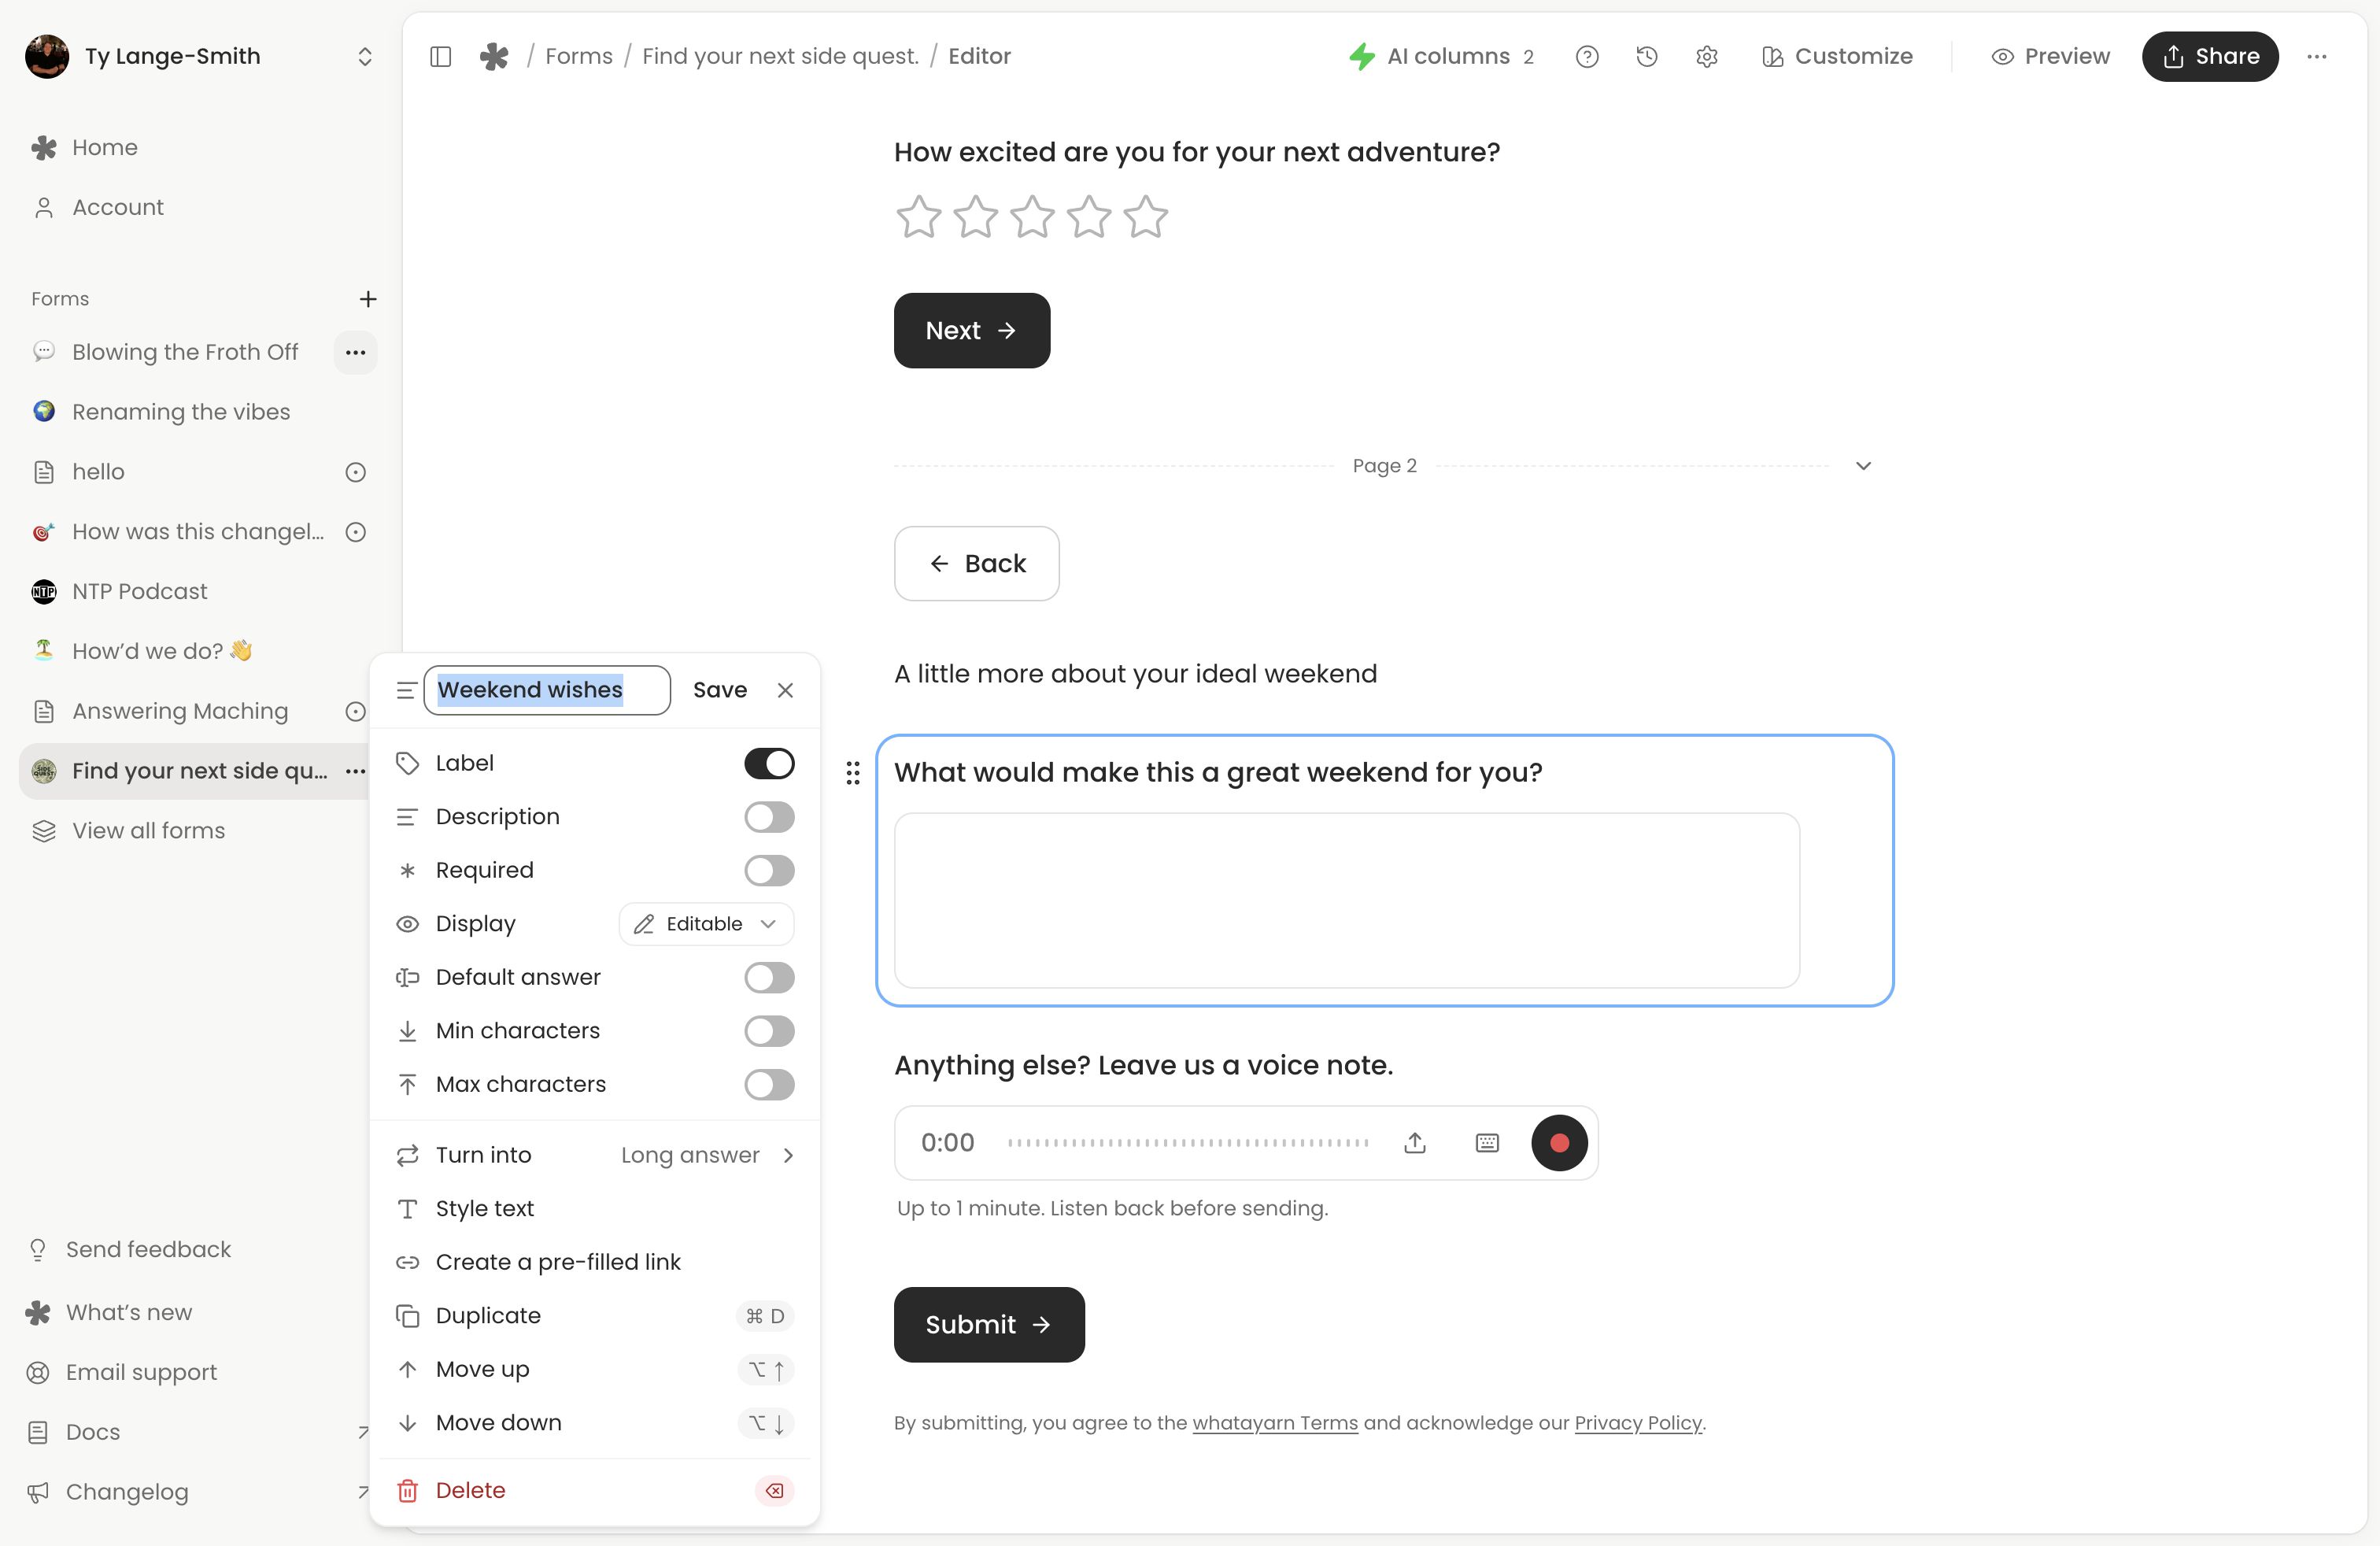
Add Text for instructions and headings to group related questions. Use Add description for a short introduction beneath the title and Add links for social or website links in the header.
Drag a block by its handle to move it with its settings. Open the block menu to duplicate or delete it. Add images and dividers from the picker; give informative images Alt text.
For text styling, lists, Turn into and pasting, follow Format and paste form text.
Pages and the thank-you screen
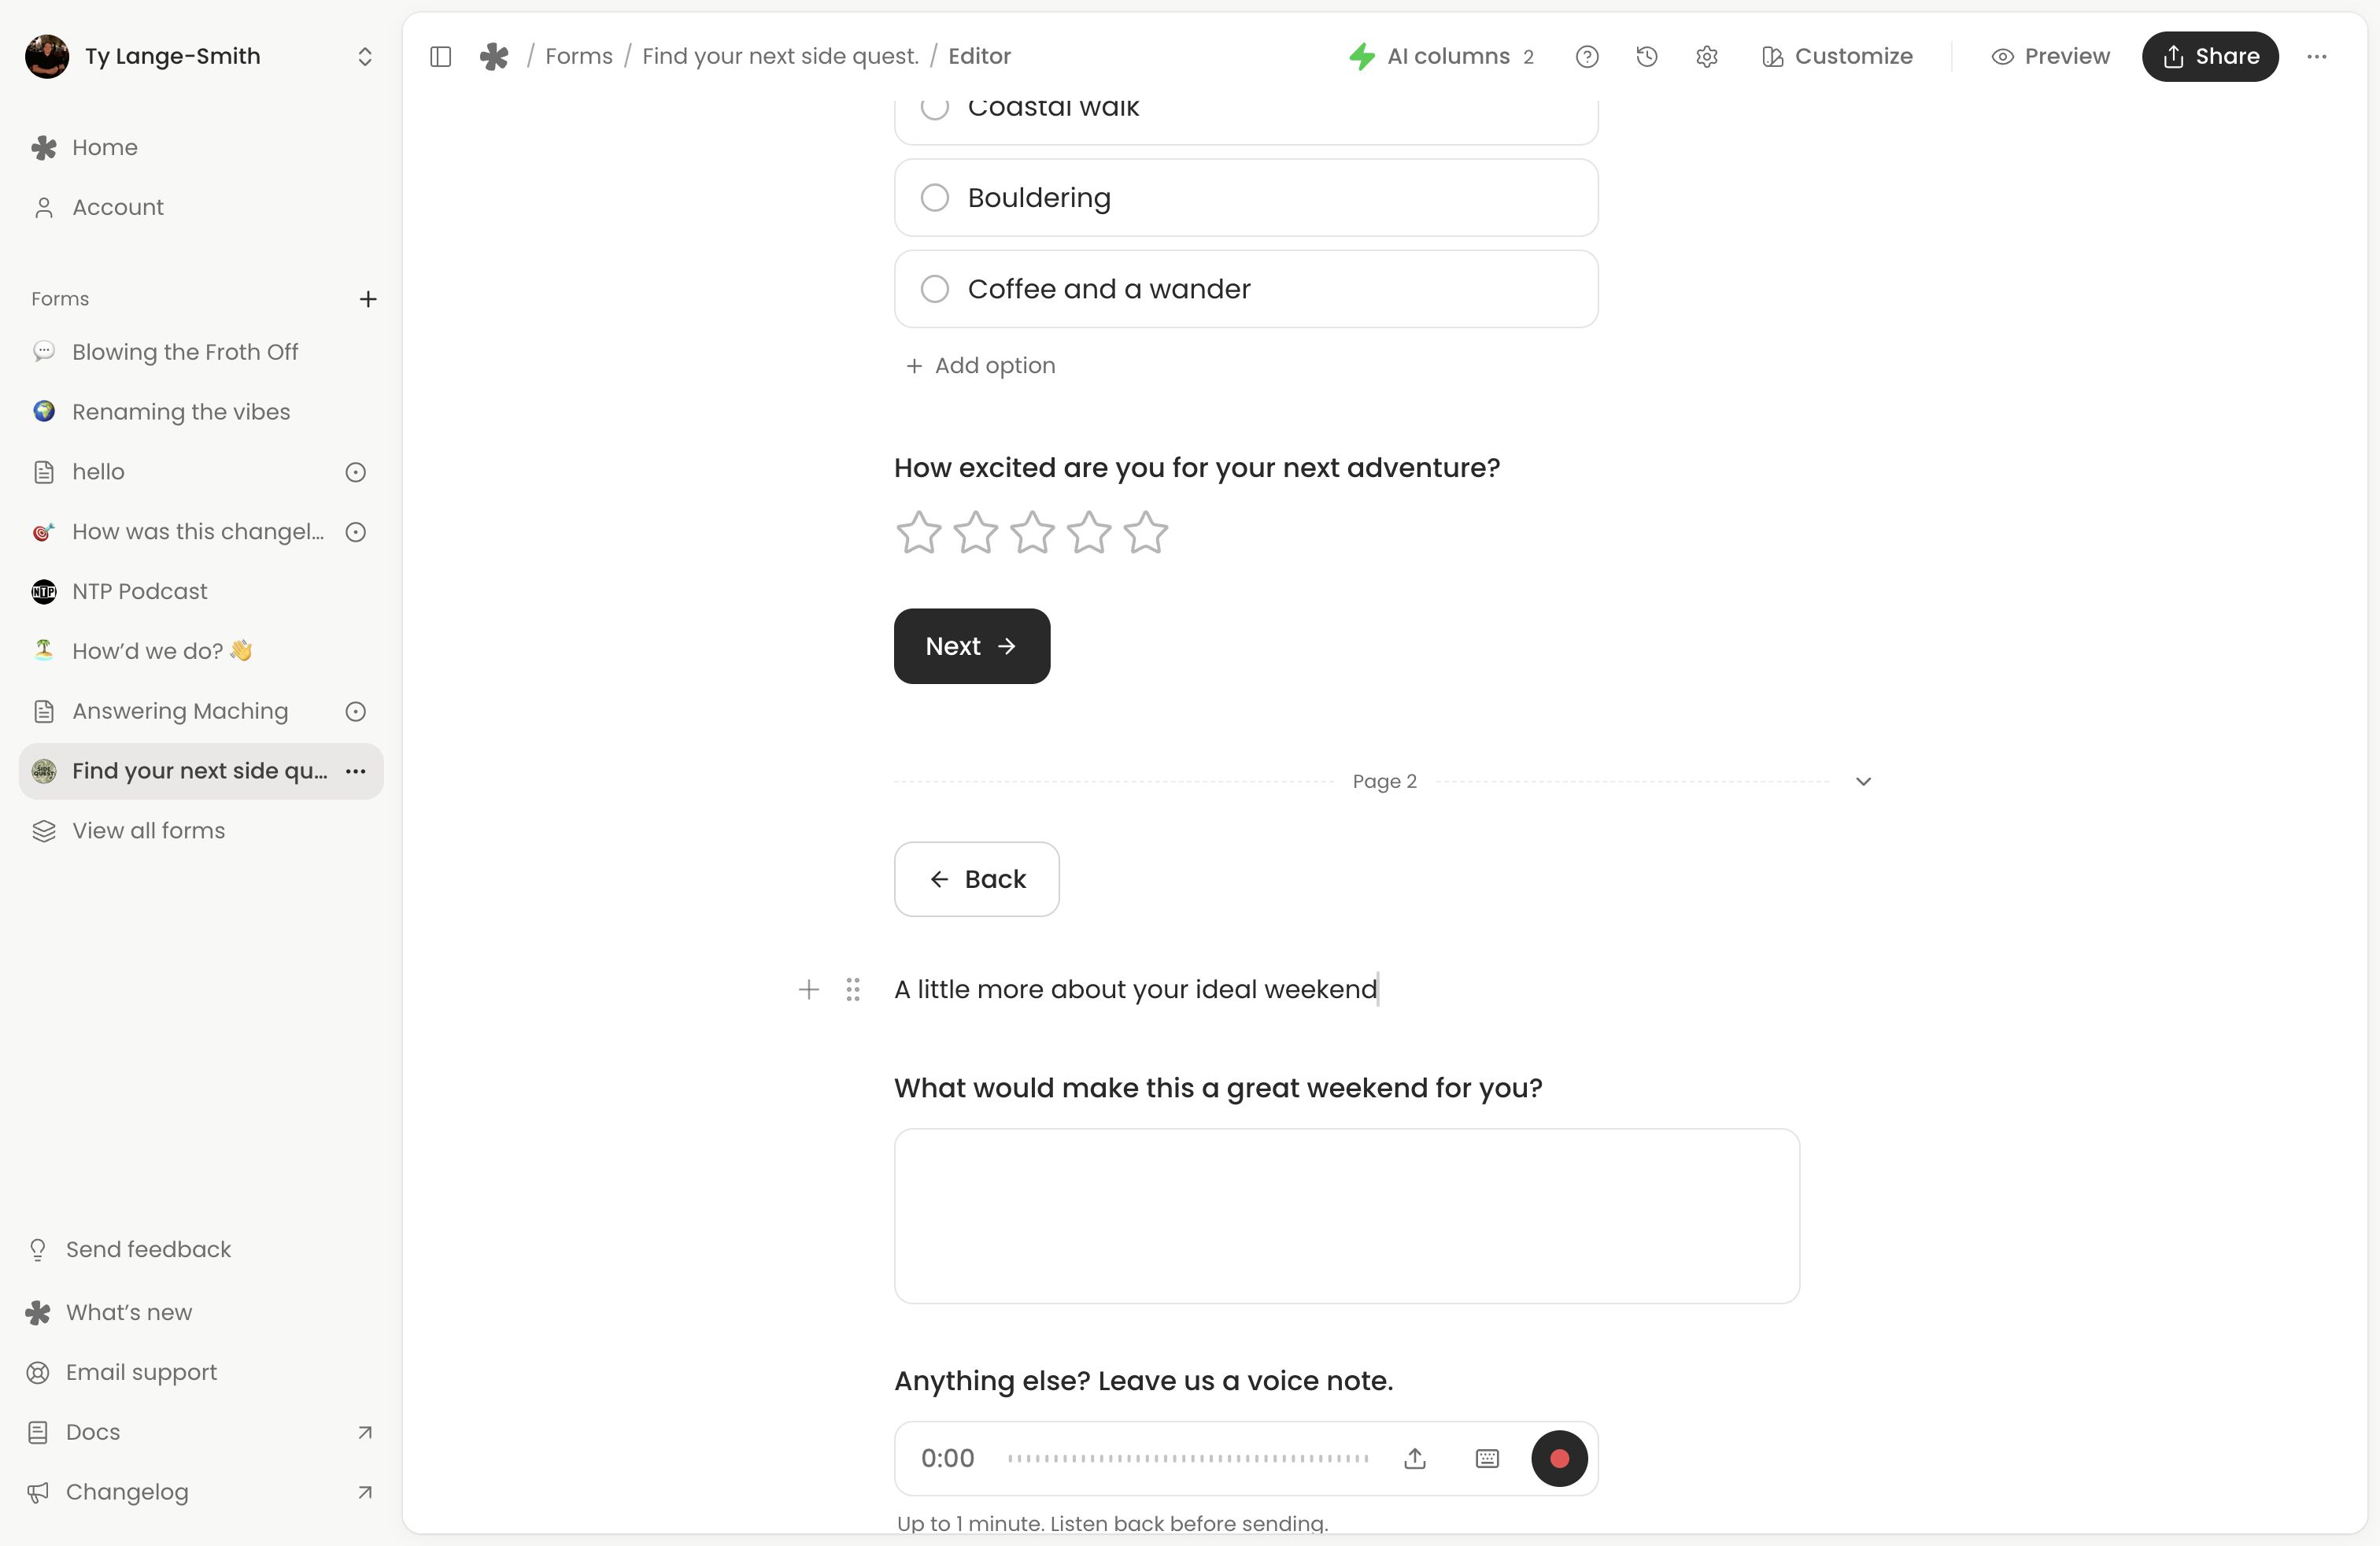
Choose New page from the picker to split a longer form into steps. Respondents use Next to continue and submit on the final answering page. The page controls let you rename navigation buttons or hide Back.
Add Thank you page, then write a heading and text after its divider. For example: “Thanks for your feedback. We’ll read it before planning our next event.” People see this after submitting.
Good to know
- Keep every question before the thank-you divider so people can answer it.
- The progress bar and post-submission redirect are in Form settings.
Insert earlier answers with @
Type @ in a question label or description, heading or text block, then choose an earlier question. For example, ask Your name, then insert its answer after “Thanks, ” on the thank-you page.
The editor inserts a reference chip. Preview and the live form replace it with that person’s answer. Delete the chip and type @ again to choose another source.
Good to know
- Text, contact details, numbers, choices, ratings, scales, dates and times can supply answers. Recordings, files, rankings, matrices and signatures cannot.
- References work in labels, question descriptions, headings and text, including thank-you text. Other controls, such as the title, opening description, options and buttons, do not accept them.
- A skipped answer appears as an ellipsis. Write surrounding text that still makes sense.
- If you delete a source or move it below its reference, repair the marked chip before publishing.
Keyboard shortcuts
Open Help in the editor for your device’s keys, or use the keyboard shortcut reference.
Explain your use of answers
Tell people who will read their responses and whether you intend to publish any part of them. If you use AI columns, explain that selected answers can be processed by AI. Ask only for details you need.
Next action: Add your questions, check them in Preview, publish your changes and submit a test through the live link.