
Add a Voice question anywhere before the thank-you page. You can combine recordings with ratings, choices and written questions in one form.
Add a voice question
Open the editor, click + or type / on an empty line, then choose Voice. Write a specific prompt, such as “What is one thing we could improve?”
Open the question’s block menu to configure it:
- Required asks everyone to answer. Leave it off when a recording is optional.
- Description adds instructions beneath the prompt.
- Max length sets how long someone can record.
- Min length adds a minimum recording duration when you need one.
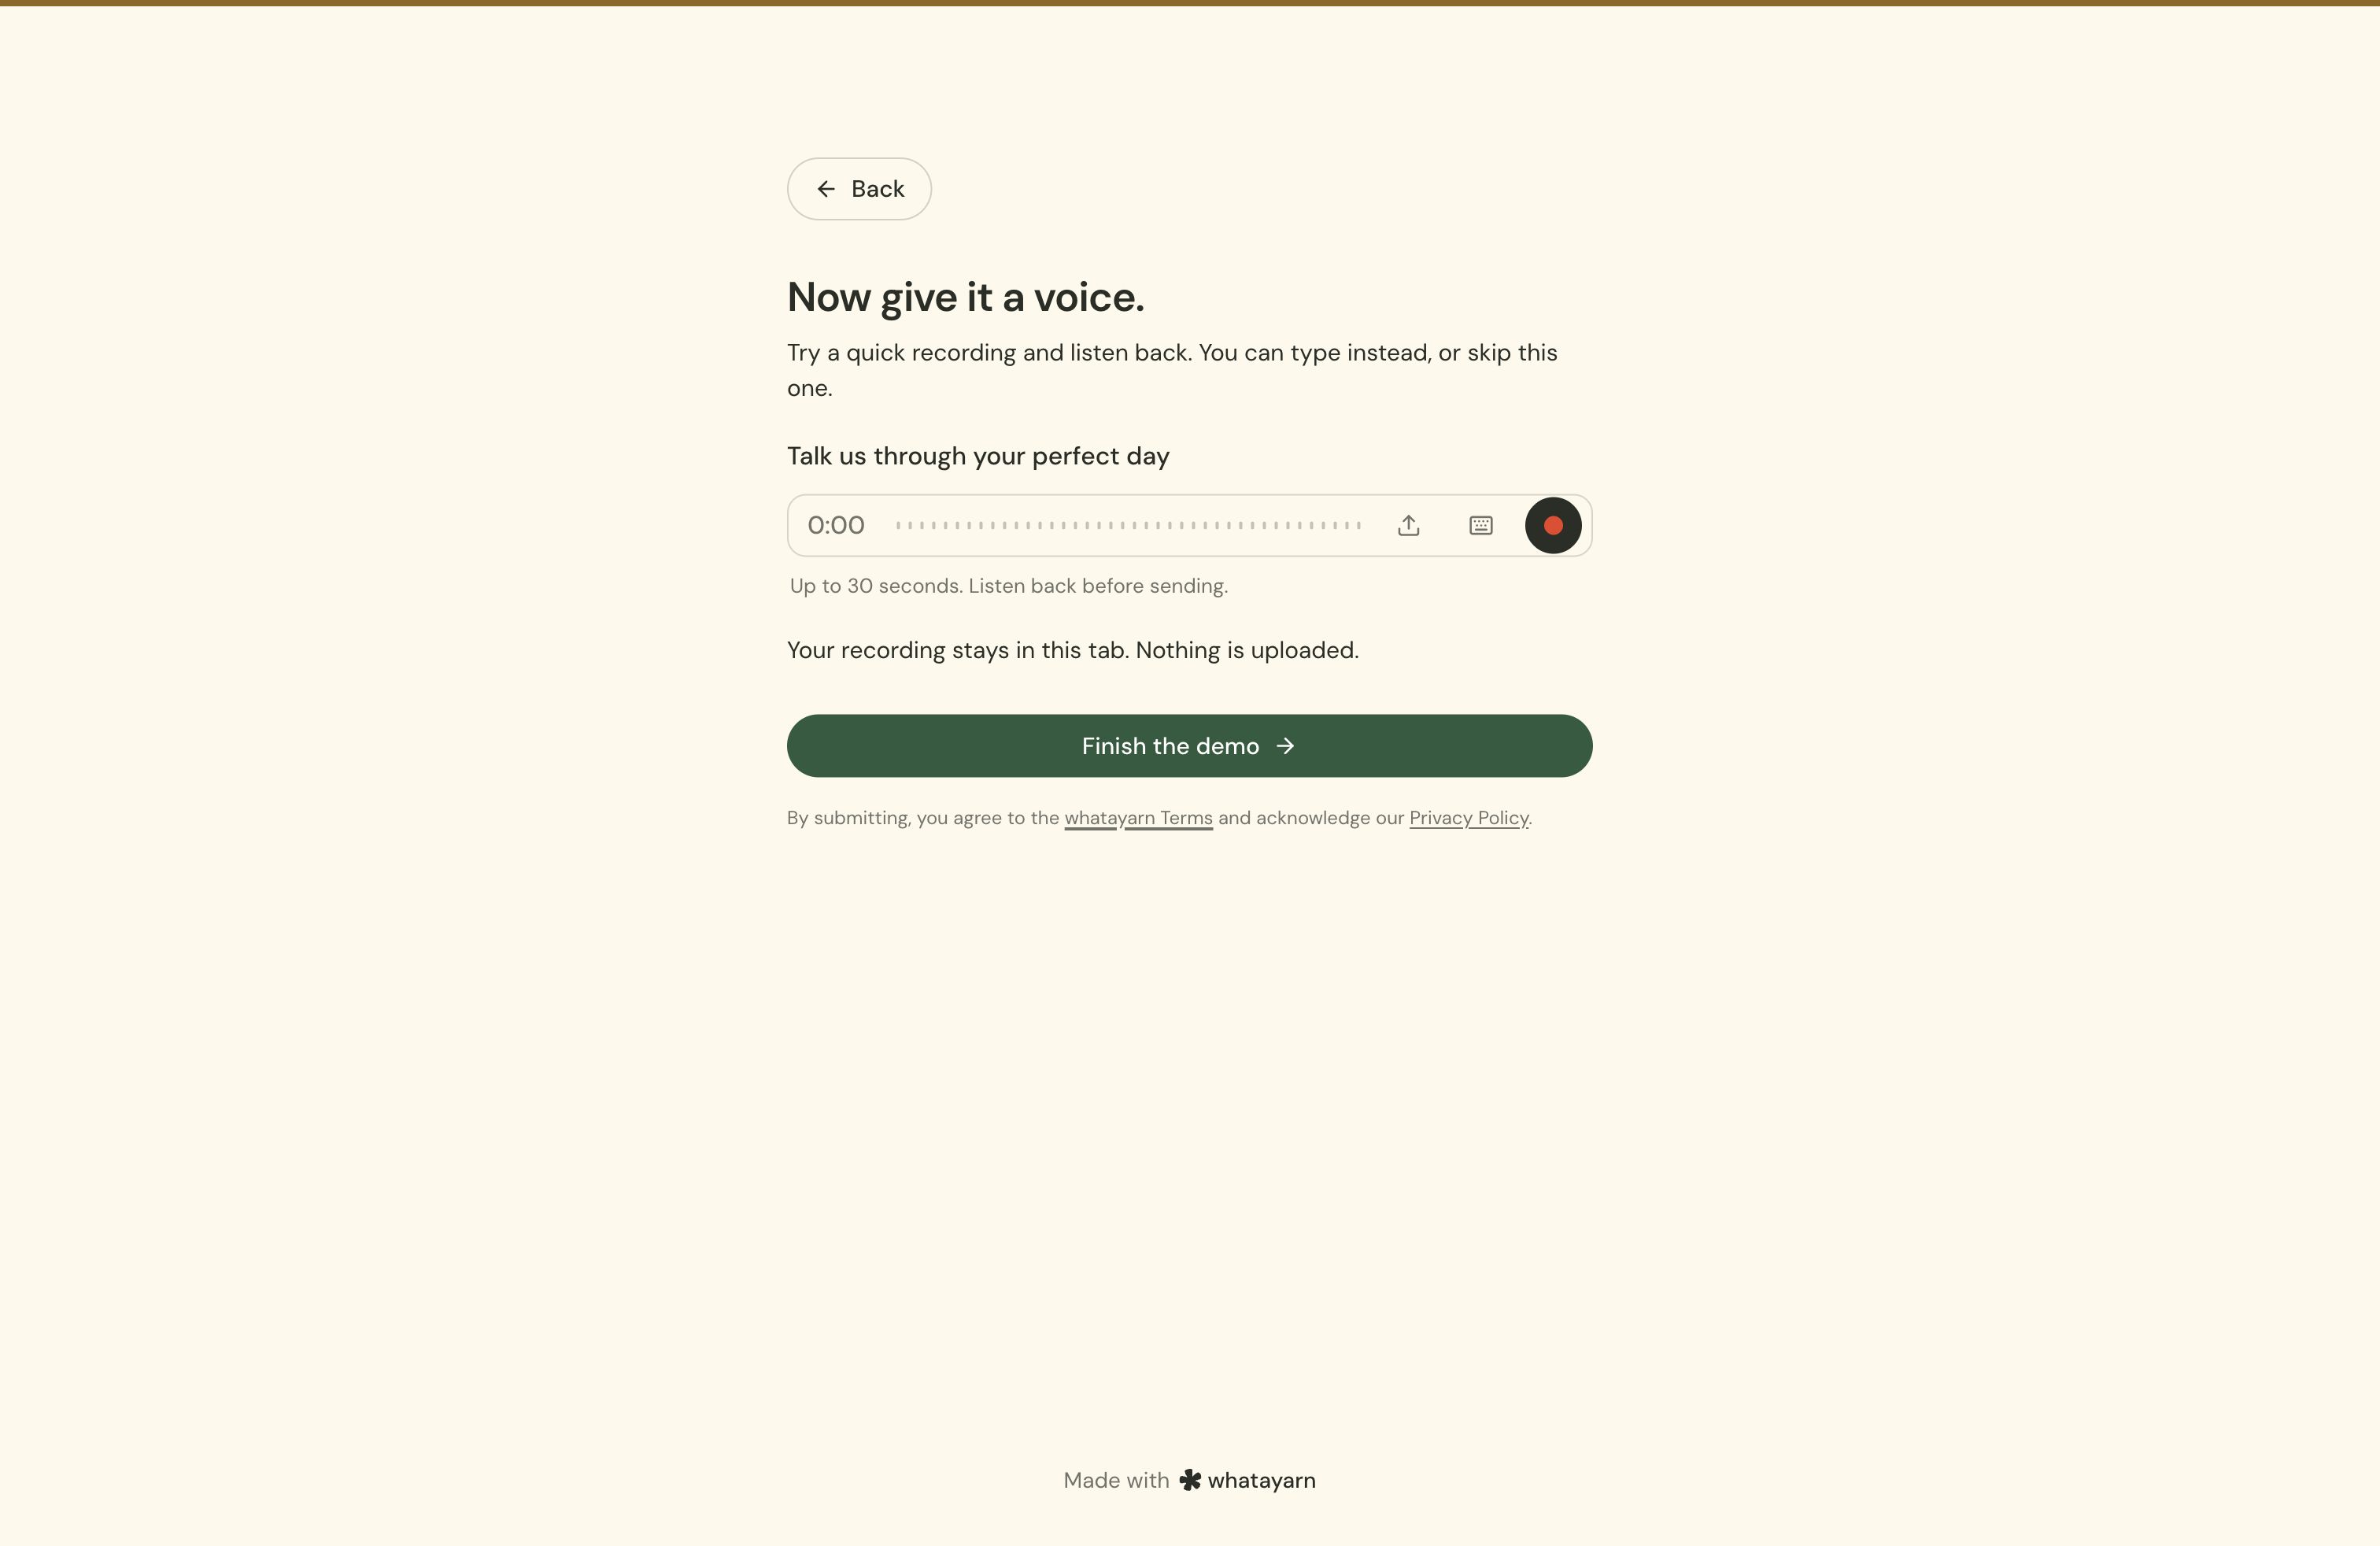
- Allow file upload lets someone use an existing audio file.
- Allow typed answer offers a written alternative in the same question.
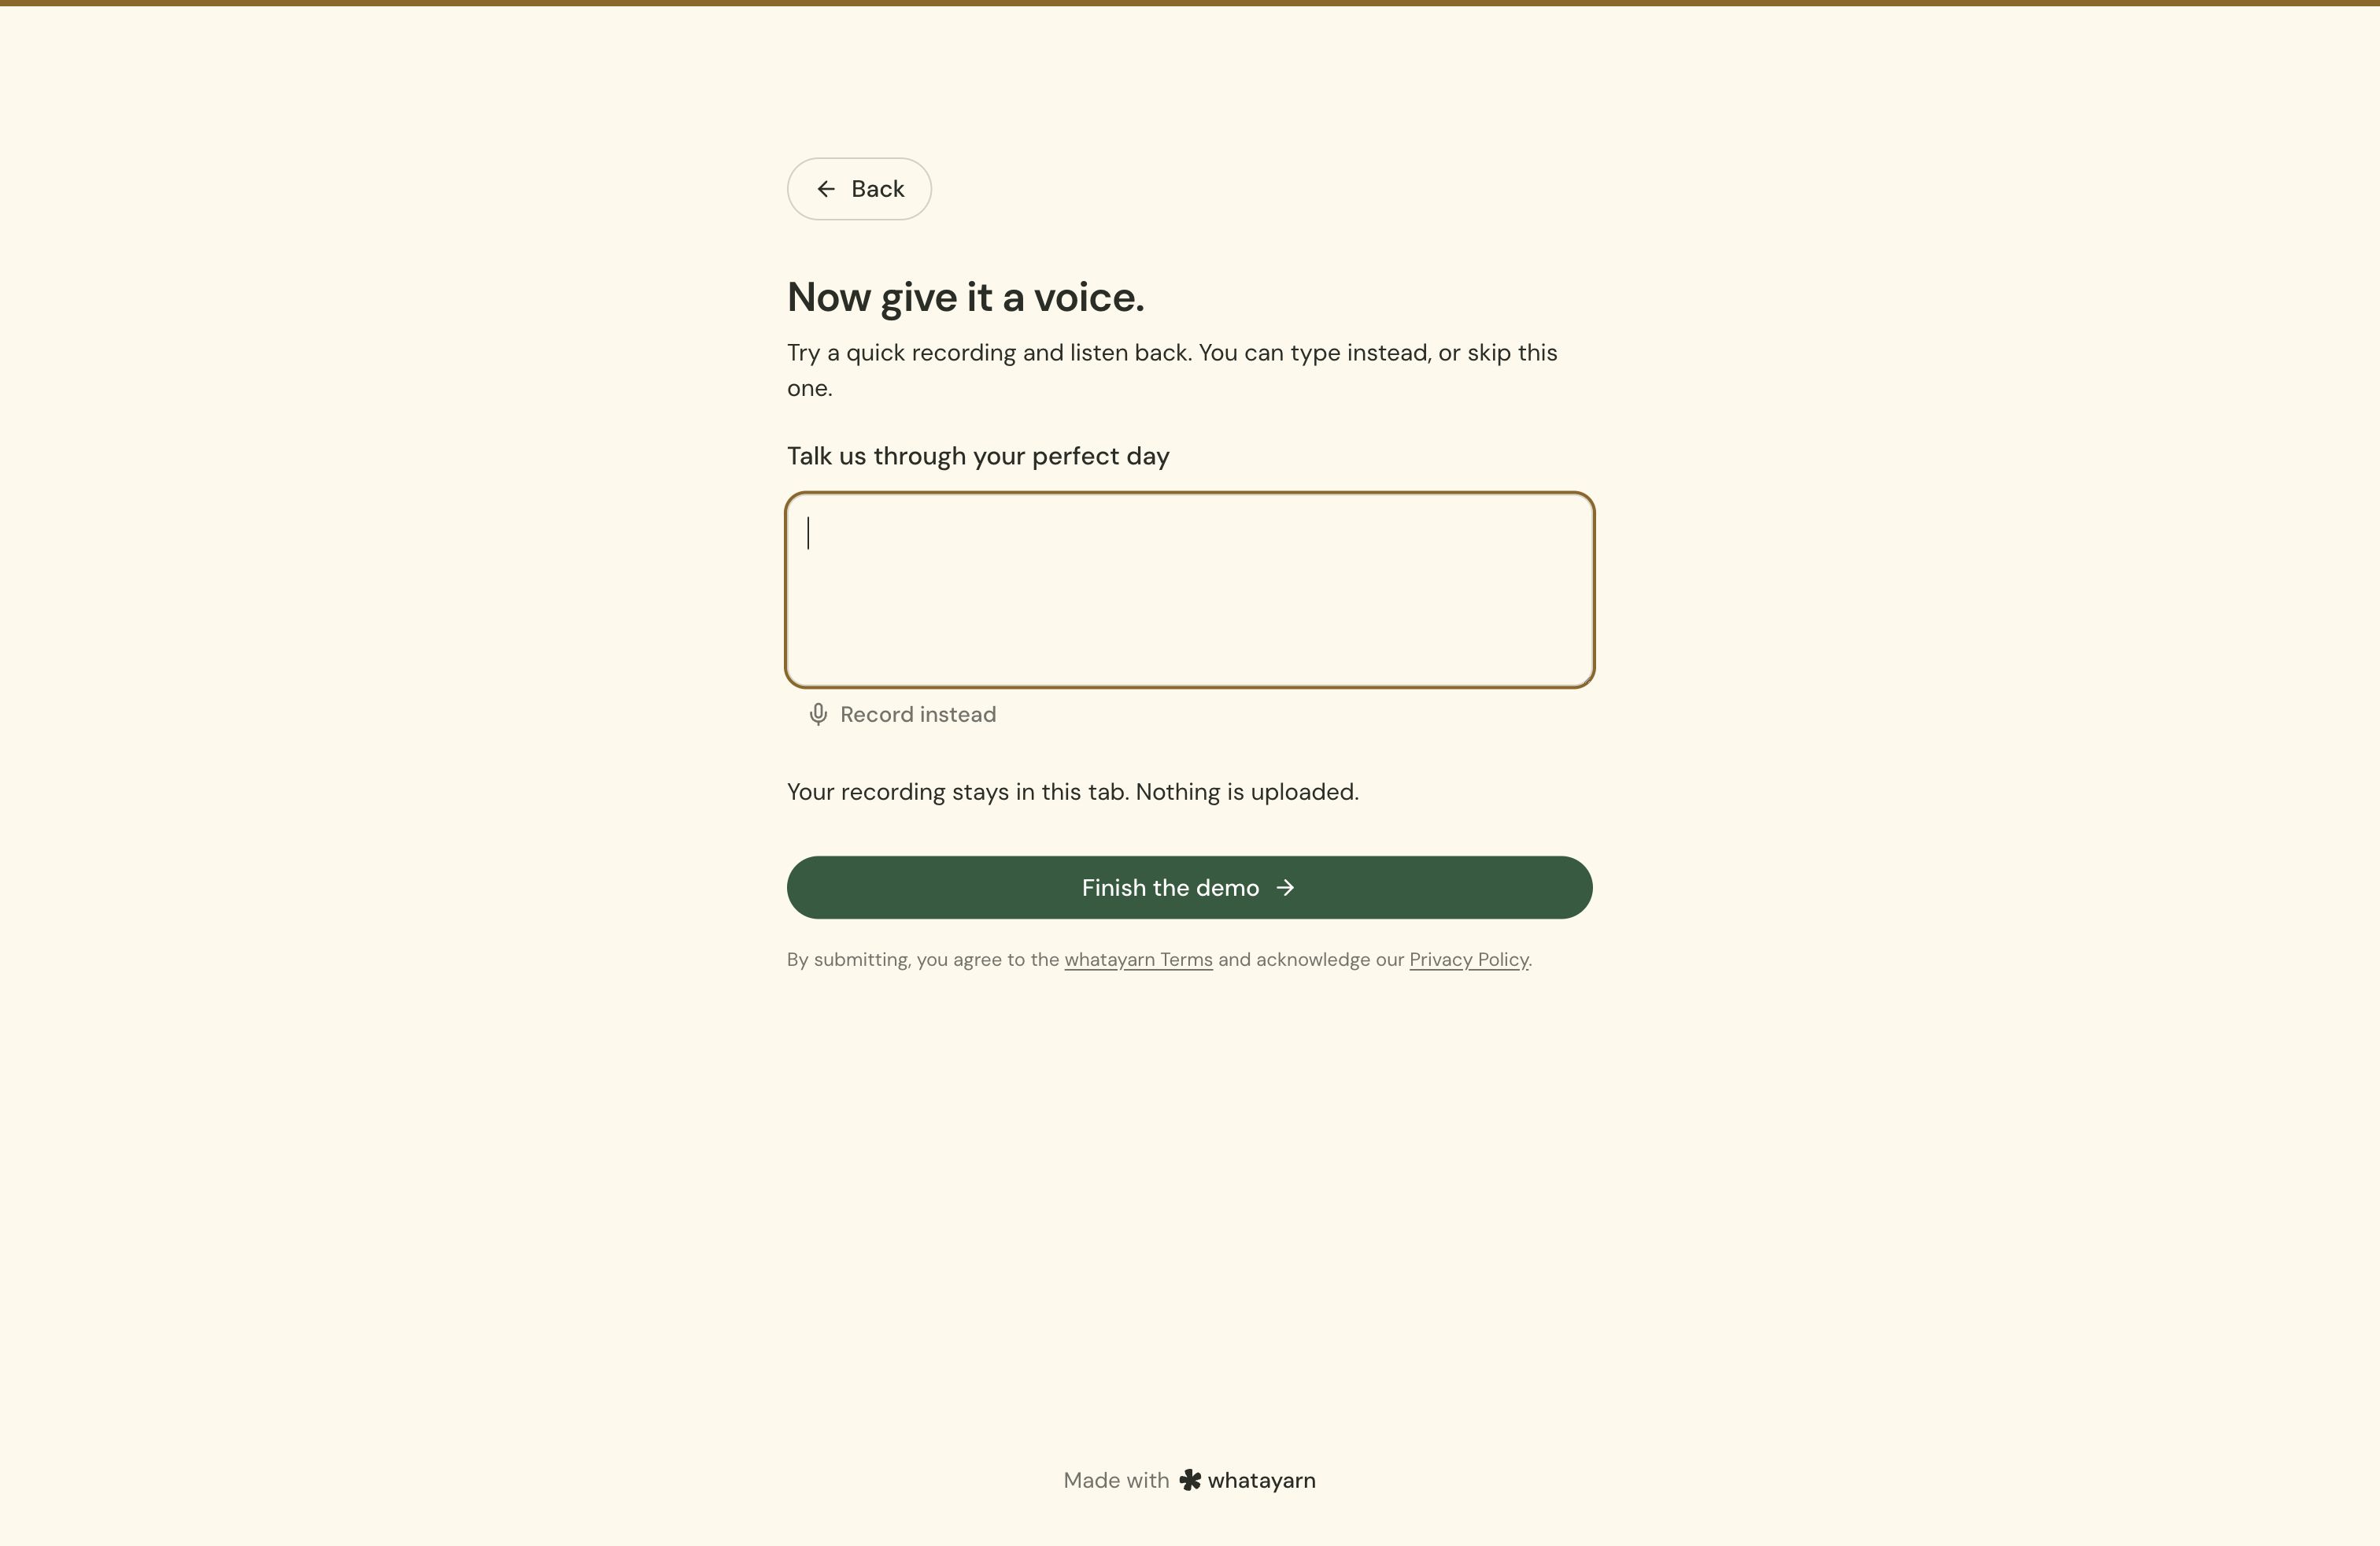
When typed answers are enabled, respondents choose Type instead in the recorder. If the question is required, a valid typed answer can satisfy it; they do not have to provide both text and audio.
Check recording length
Free supports recordings up to 1 minute. Creator supports up to 10 minutes. The live recorder uses the lower of the question’s configured maximum and your plan limit. Choosing a longer value on Free does not extend that plan’s limit.
Write instructions that match the effective limit. “Record up to a minute, or type your answer instead” is a useful starting point on either plan.
Storage is 100 MB on Free and 50 GB on Creator, shared across recordings, submitted files and form images. New uploads stop when the account’s allowance is full. See Free vs Creator for the current allowances.
Audio uploads must meet the recorder’s file type, size and duration checks. Use the question’s upload option for recordings; use a separate File upload question for other documents or images.
How people answer a voice question
Respondents allow microphone access when the browser asks, start and stop recording, then play the answer back. Recording stops at the configured limit. If enabled, they can upload an audio file or choose Type instead to give a written answer.
Reviewing an answer does not submit the form. Recordings can upload in the background, but the owner receives them as part of a completed response only after successful submission. Respondents should wait for confirmation before leaving. Use Microphone troubleshooting if recording will not start or the audio is silent, and How people answer your form for the full submission flow.
Preview and publish
- Open Preview and allow microphone access when prompted.
- Record a short answer, stop and play it back.
- If enabled, try Type instead and the audio-upload option too.
- Submit the preview to check validation and confirmation. Preview answers are not saved in Responses.
- Return to the editor and select Publish changes so the live form uses your updated settings.
Now open the live link from Share, submit a real short recording and wait for the confirmation. Open your form’s Responses view, select that response and play the audio. Repeat on a phone before inviting your audience.
See Saved progress and partial submissions for what can be recovered when someone leaves a form unfinished; recordings and files have different recovery rules from written answers.
For an existing Classic voice-message page, use its recording controls in Content. Those settings save directly rather than using the new builder’s publishing workflow. See Classic forms.
Next action: Test a voice answer on your phone. Use Microphone troubleshooting if recording will not start.