
Open a form from Forms (opens in a new tab) and select Edit. Write directly in the document, mixing text and questions in the order people should see them. Start with Create your first form if you want a worked example.
Choose your questions
Click + beside a block or between blocks to open the picker. Typing / on an empty line opens the searchable slash menu. Name and email are ordinary questions you add when needed; respondents do not need a whatayarn account.
Question | Use it for | Settings to check |
|---|---|---|
| Short answer or Long answer | Names, feedback and explanations | Required, placeholder, default answer and character limits |
| Email, Phone number or Link | Contact details and web addresses | Required, placeholder and default answer |
| Number | Quantities and amounts | Minimum and maximum values |
| Multiple choice or Dropdown | One answer from a list | Option labels and display style |
| Checkboxes or Multi-select | More than one answer | Minimum and maximum choices |
| Rating | A star rating | Number of stars and a description of the scale |
| Linear scale | A numbered score | Start, end and labels for either end |
| Date | A date, optionally with a time | Include time, earliest and latest dates |
| Time | A time of day | Earliest and latest times |
| NPS or CSAT | A ready-made linear scale | Labels for either end |
| Ranking | Options in order of preference | Option labels and Randomize options |
| Matrix | Several statements on one scale | Rows, columns, Multiple selection and Randomize rows |
| Signature | A drawn sign-off | Signature label |
| Voice | A recording, with optional alternatives | Length, audio upload and typed answer |
| File upload | Documents, images and other files | Accepted file types, size and number of files |
The Form blocks and question types reference explains every available question, text, layout, media and page block, with their settings and limits.
These question types are available on both plans. Some additional settings, such as locked or hidden answers, require Creator. Controls marked Coming soon cannot be added yet; this includes conditional logic and payments.
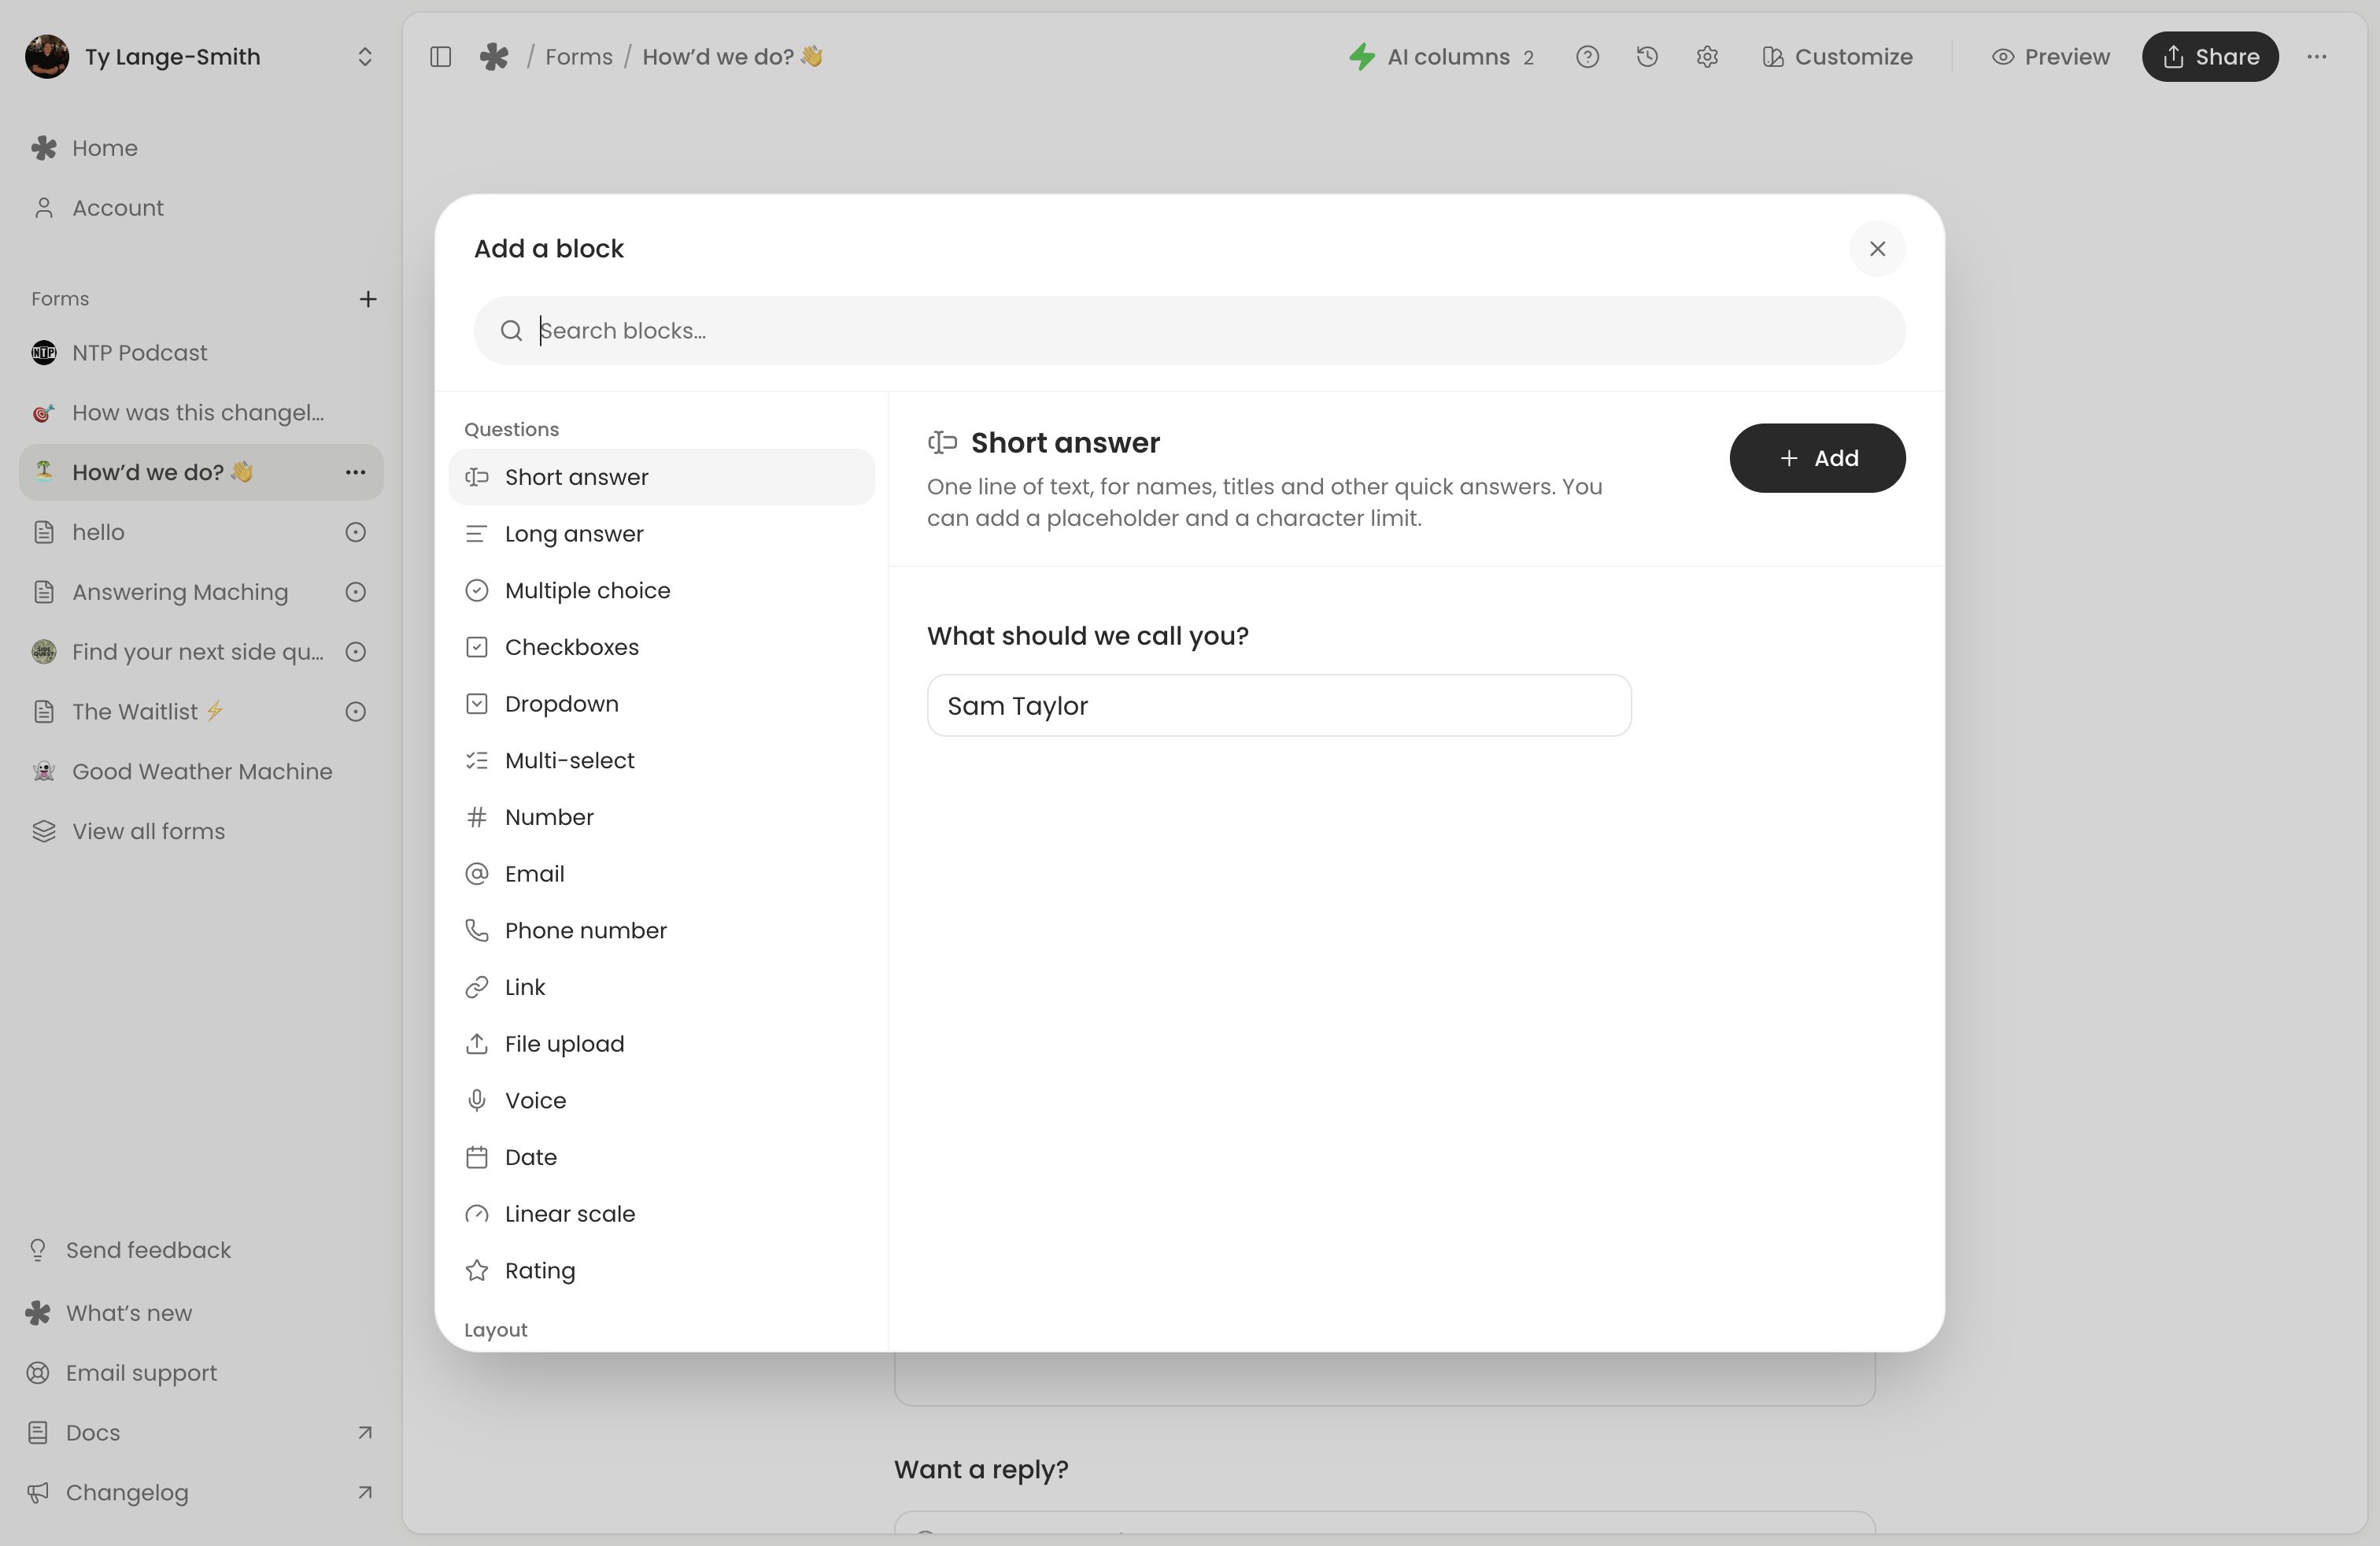
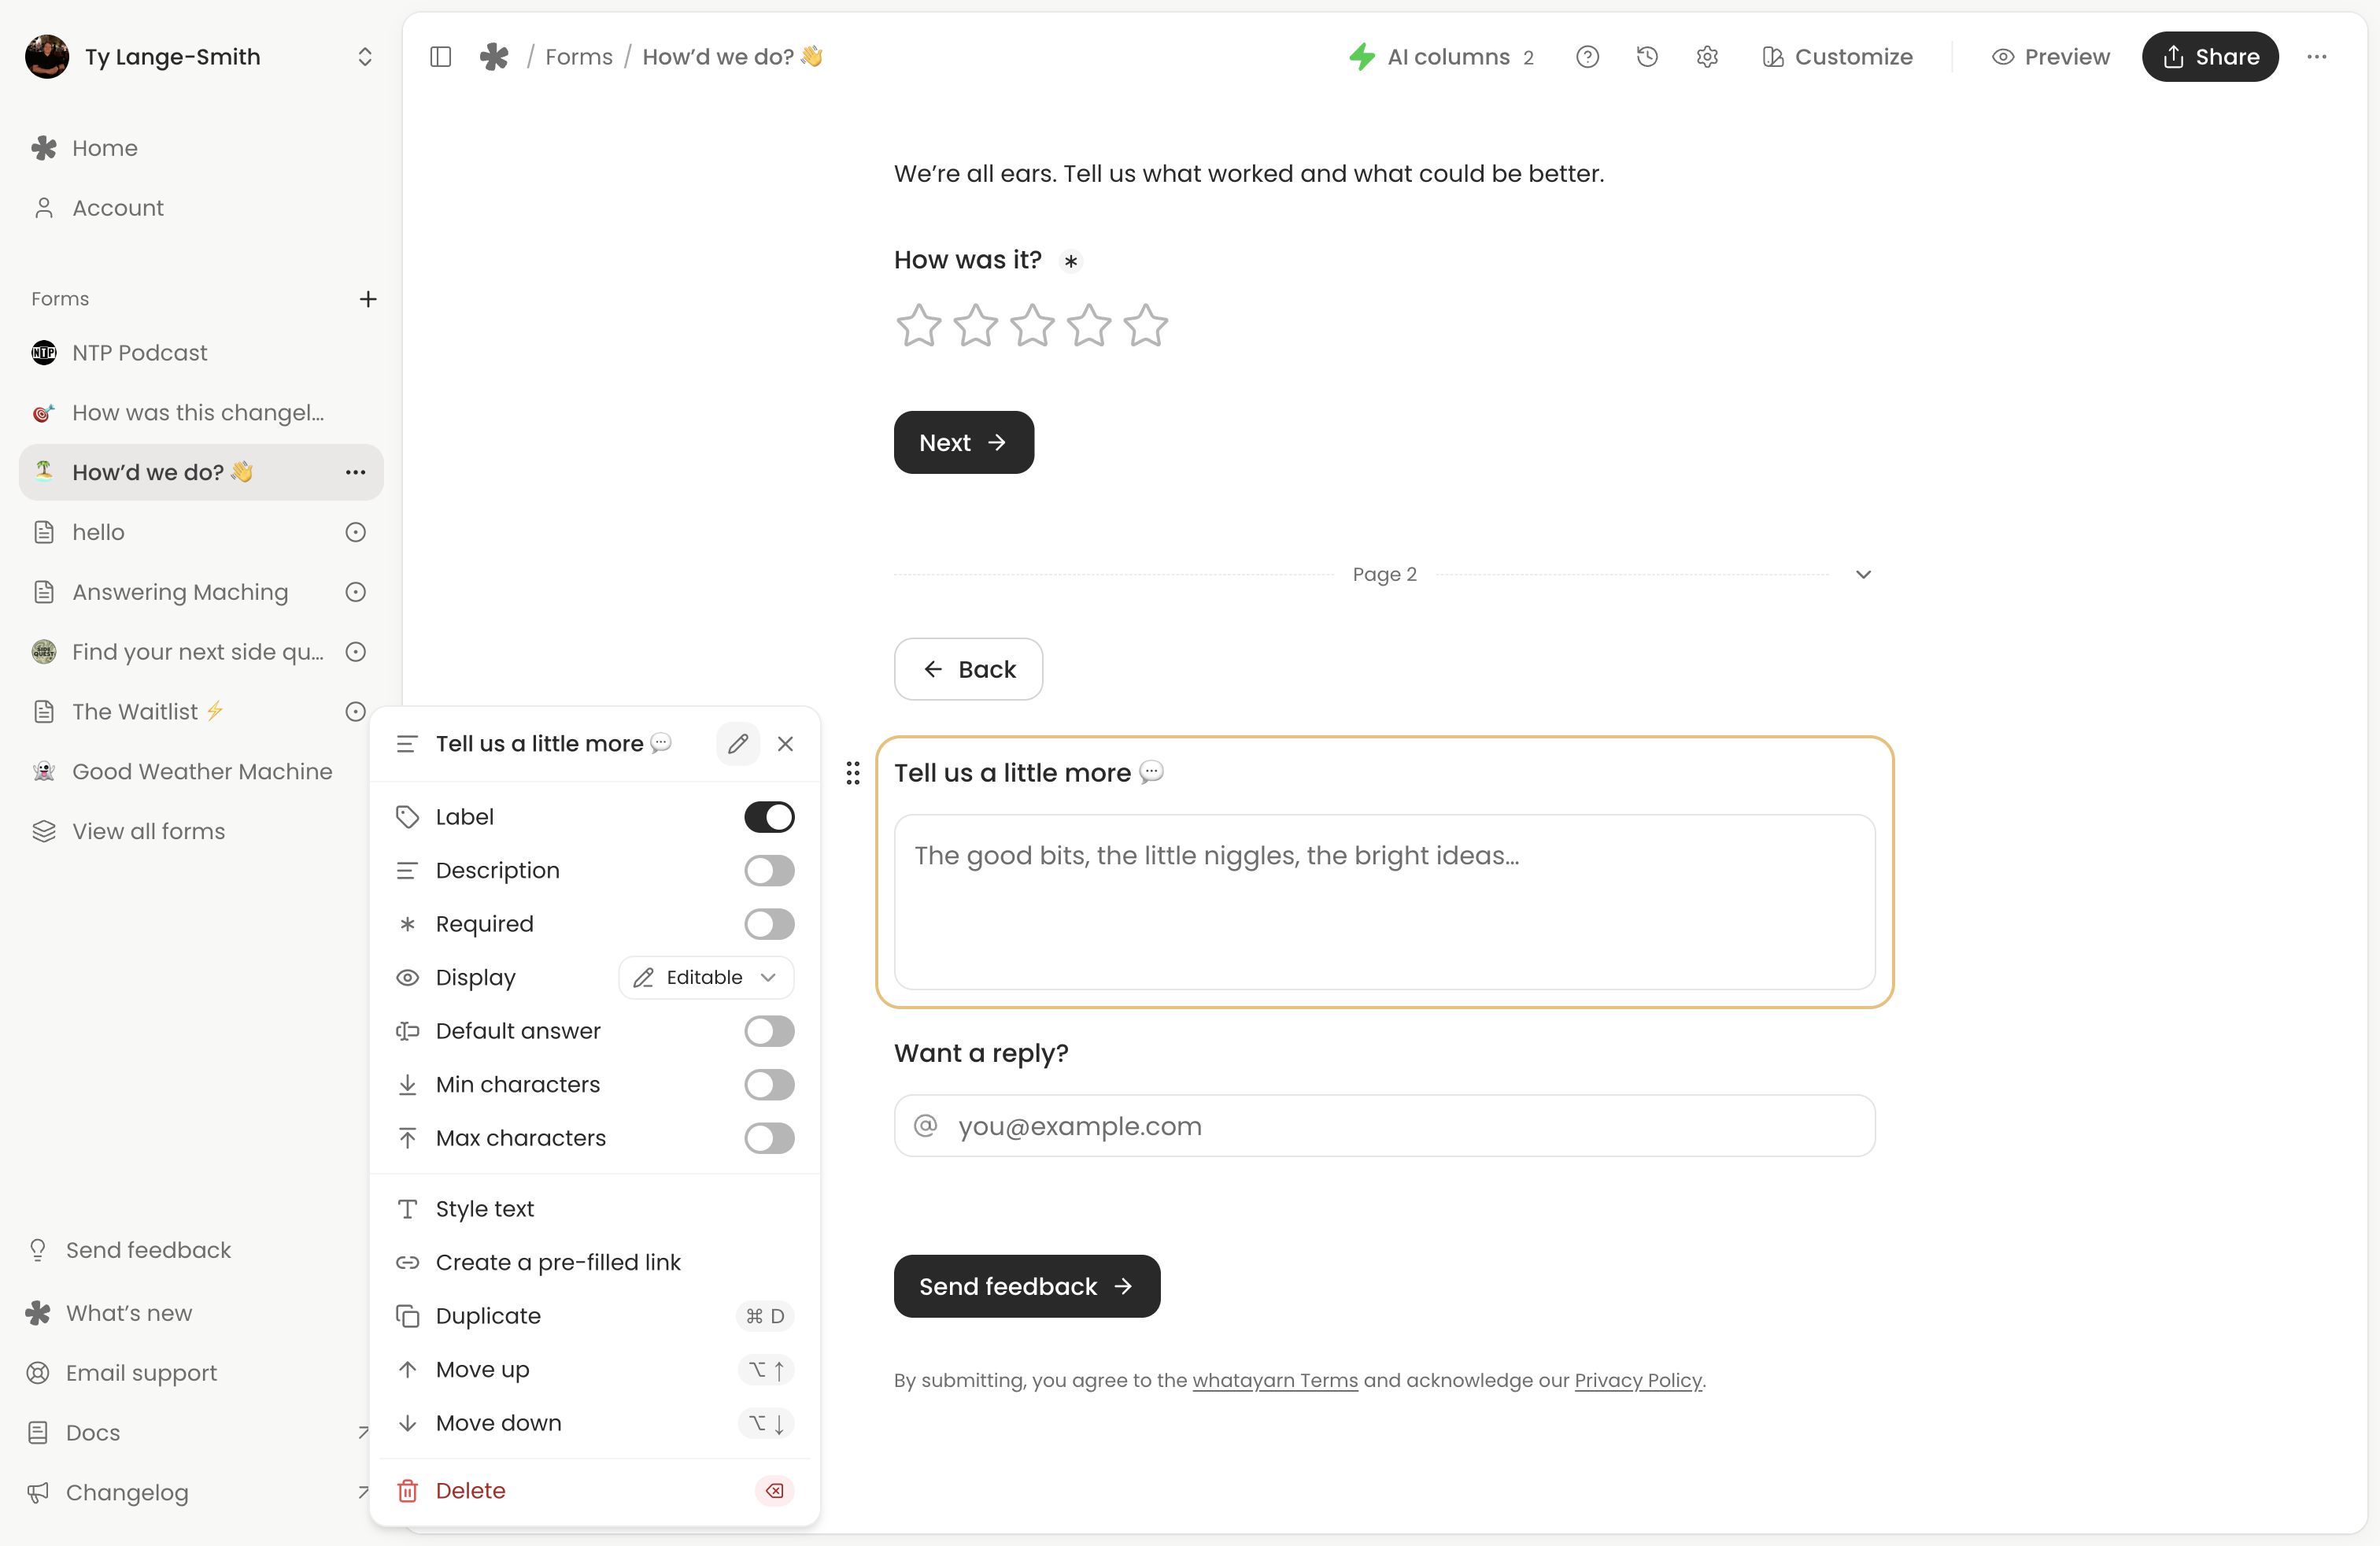
Edit labels, descriptions and requirements
Open a question’s block menu using its handle. Write the question label in place. Turn on Description to add supporting text beneath it, or Required when an answer is necessary. Required questions prevent submission until answered; an optional question can be skipped.
Default answer starts a supported question with the same answer for everyone. A value supplied by a pre-filled link can replace it. See Pre-fill answers and hidden fields for link answers and Editable, Locked and Hidden display modes.
The Label switch can hide the question label. Use nearby text or a heading to make an unlabelled question understandable.
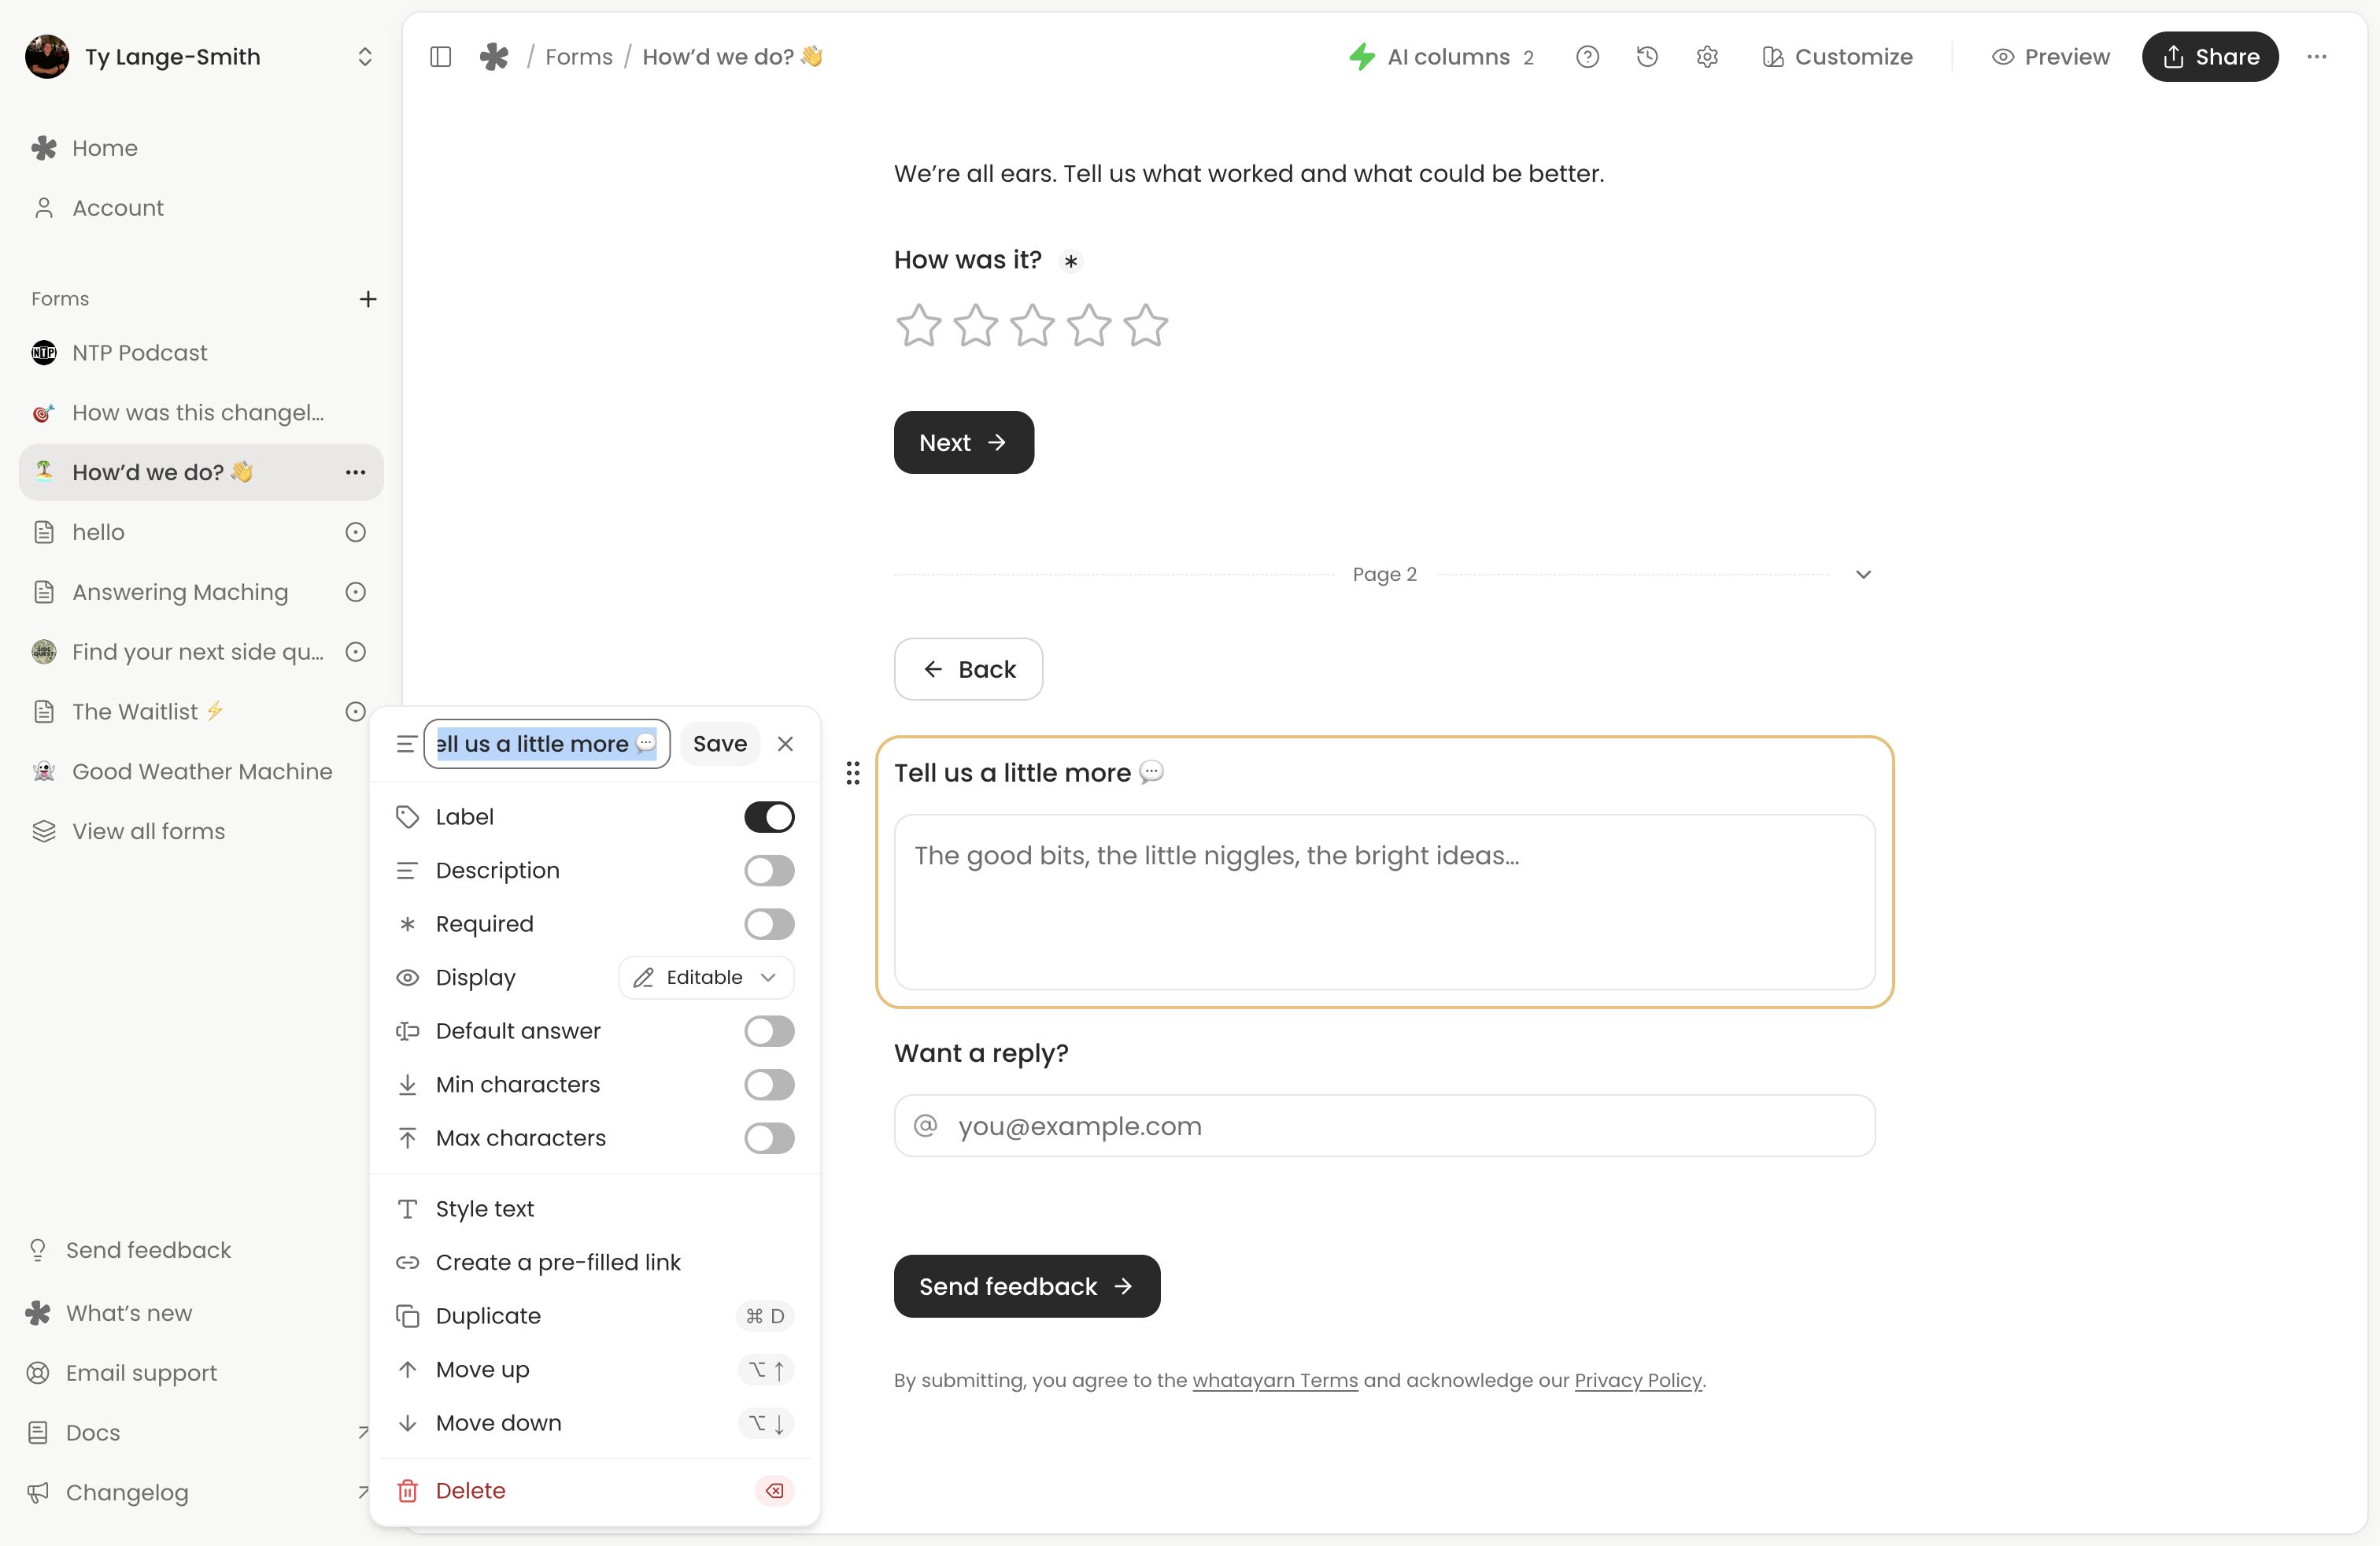
Name questions in Responses
A question normally uses its label as its name in Responses. In the block menu, select the pencil button Rename in responses, enter a shorter name and save it. For example, “What would you like us to improve?” can appear as Feedback in your response table without changing the question people read.
Clearing that custom name makes it follow the label again. Moving or renaming a question preserves its identity, so existing answers stay associated with it.
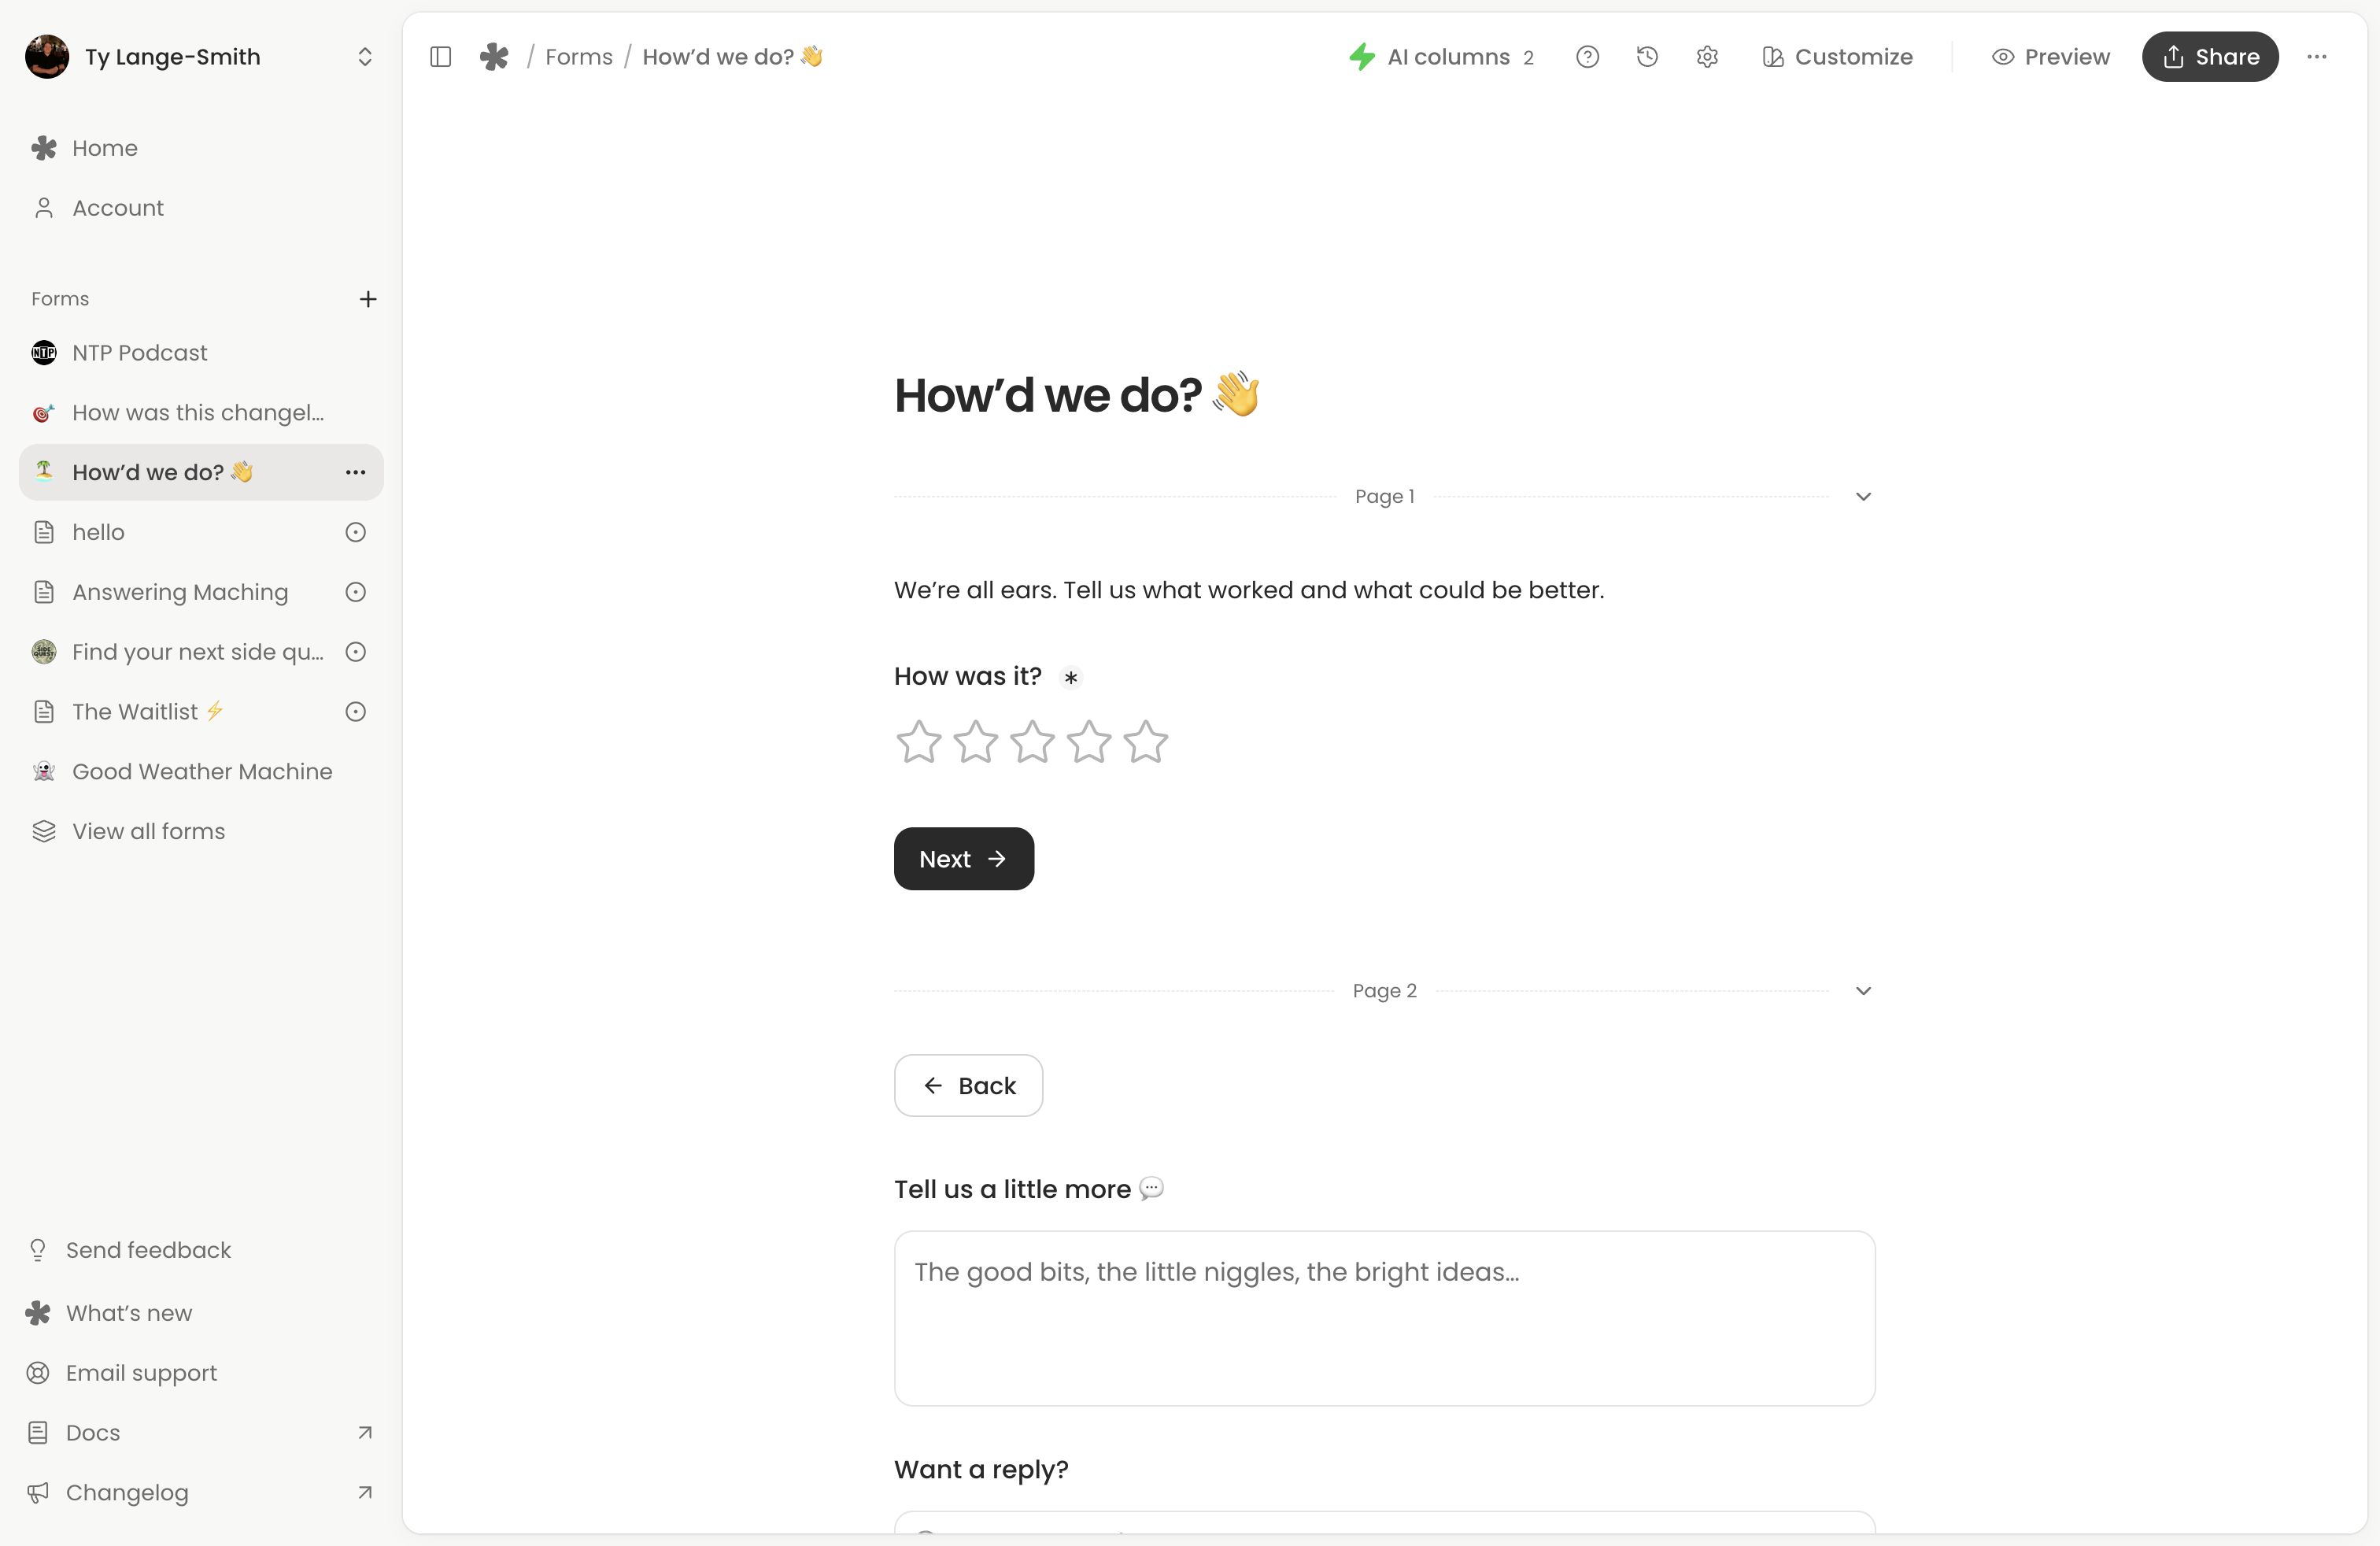
Organise the flow
For the complete text, layout and media block inventory, use the block reference.
Use Text for instructions between questions and Heading 1, Heading 2 or Heading 3 to group them. Bulleted list, Numbered list and Quote set text apart, such as steps to follow or a testimonial. Select text to open its formatting toolbar for bold, italic, underline, strikethrough, code, colour and links. The title stays plain text.
You can also write in markdown. At the start of a text line, type #, -, 1. or > followed by a space for a heading, bulleted list, numbered list or quote. Around words, type **bold**, *italic*, ~~strikethrough~~, `code` or [words](https://example.com) for a link. Markdown you paste from elsewhere is formatted the same way. Markdown can wrap an earlier answer too: type a backtick, insert the answer with @, then close the backtick to show the answer as code. In a list, Enter adds the next item, and Enter on an empty item or Backspace at the start of one ends the list.
Add description creates a short introduction beneath the form title. Add links adds a row of social or website links to the header. Text blocks can carry longer instructions throughout the form. Add images and dividers from the picker; supply an image’s Alt text when it conveys information.
Drag a block by its handle to move it. Its questions and settings move together. The block menu also offers duplication and deletion.
Pages and the thank-you screen
Choose New page from the picker to split a longer form, or press Command on Mac or Control on other keyboardsEnter where you want the new page. Respondents use Next to continue through the pages and submit on the final answering page. Page controls let you adjust navigation button text and the Back option.
Add Thank you page and write a heading and text after its divider, such as “Thanks for your feedback. We’ll read it before planning our next event.” Content there appears after successful submission. Put every question before the thank-you divider; questions after it cannot be answered.
A progress bar and a post-submission website redirect live in Form settings. A redirect can take people away from your thank-you screen.
Insert earlier answers with @
Type @ in a question label or description, heading or text block, then choose an earlier question. For example, ask for Your name, then write “Thanks, ” and insert its answer on the thank-you page.
The editor inserts a reference chip; Preview and the live form replace it with that person’s answer. Text, contact details, numbers, choices, ratings, scales, dates and times can be sources. Voice, file, ranking, matrix and signature answers cannot. The title, opening description, placeholders, options, buttons and URLs do not accept references.
If someone skips an optional source question, its reference shows an ellipsis. Write surrounding text that still makes sense. If you delete a source or move it below its reference, repair the marked chip before publishing. Delete a chip and use @ again to change its source.
Keyboard shortcuts
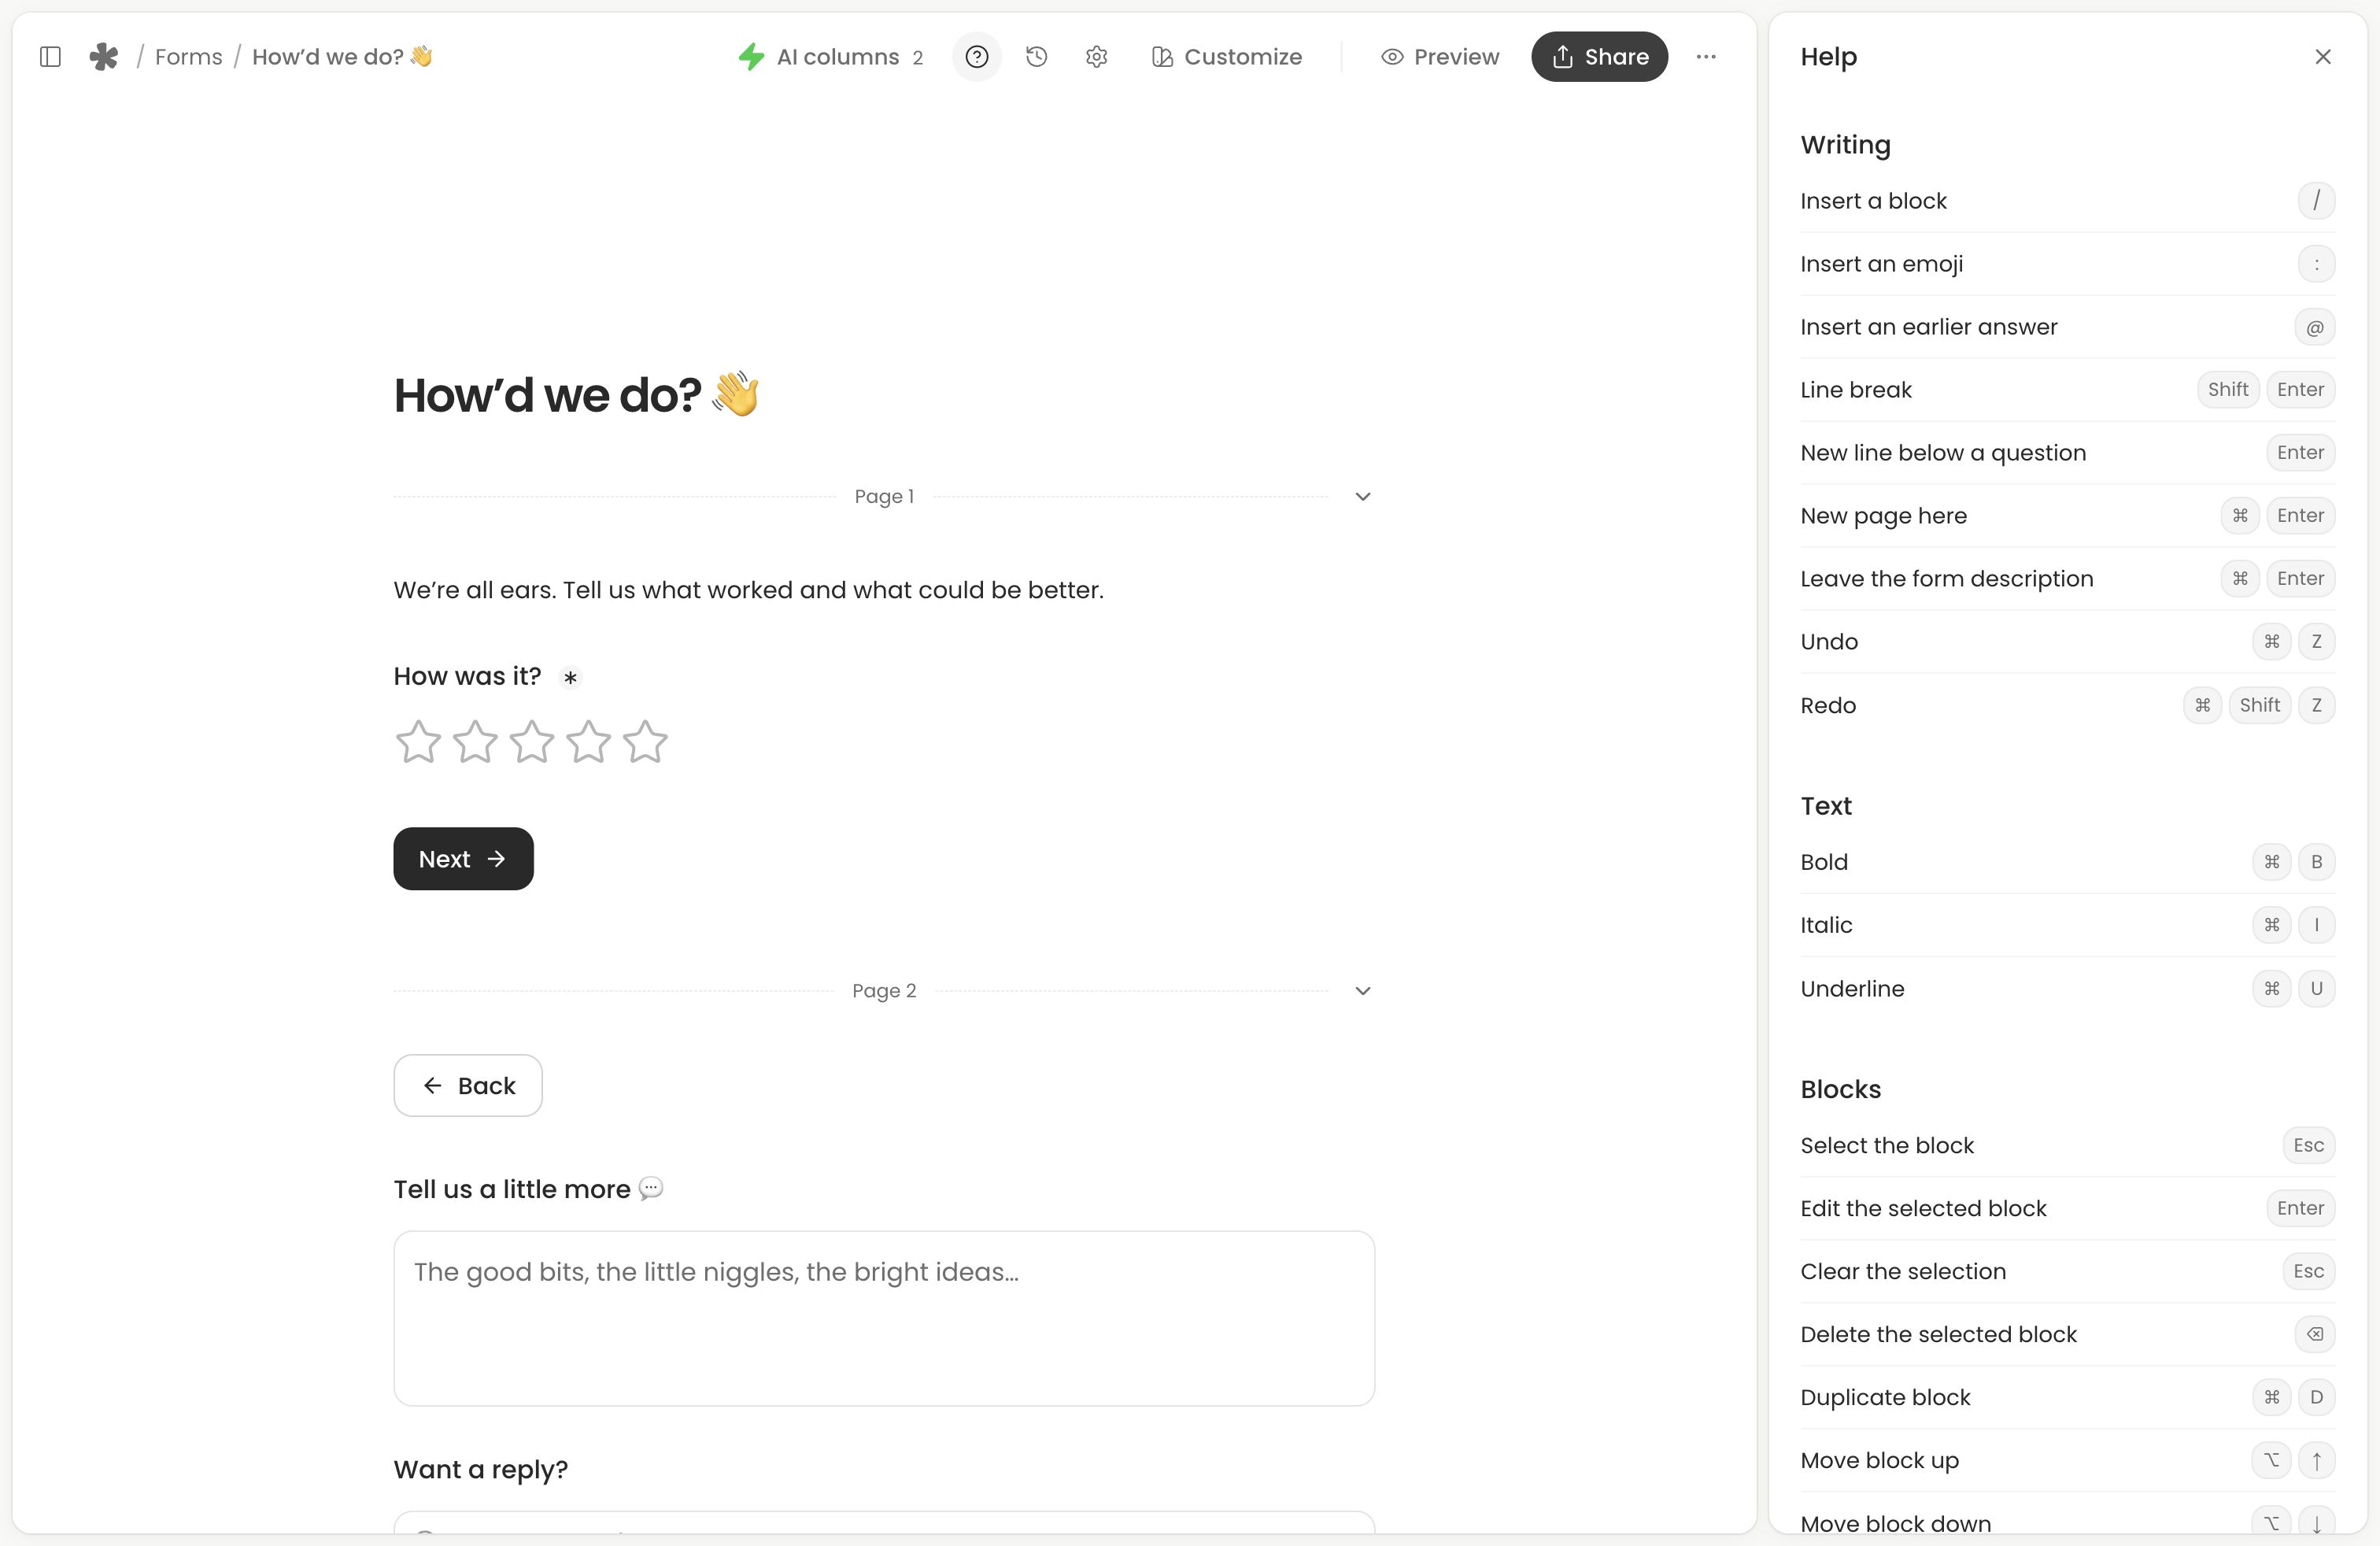
Use Command on Mac or Control on other keyboards. The editor’s Help panel lists the shortcuts too.
Action | Shortcut |
|---|---|
| Insert a block on an empty line | / |
| Insert an earlier answer | @ |
| Insert an emoji | : |
| Continue below a question | Enter |
| Break a text line | ShiftEnter |
| Start a new page | Command on Mac or Control on other keyboardsEnter |
| Bold, italic or underline | Command on Mac or Control on other keyboardsB, Command on Mac or Control on other keyboardsI or Command on Mac or Control on other keyboardsU |
| Strikethrough or code | Command on Mac or Control on other keyboardsShiftS or Command on Mac or Control on other keyboardsE |
| Undo or redo | Command on Mac or Control on other keyboardsZ or Command on Mac or Control on other keyboardsShiftZ |
| Duplicate the current block | Command on Mac or Control on other keyboardsD |
| Move the current block | AltUp arrow or AltDown arrow |
| Select the block, then edit it again | Escape, then Enter |
| Delete a selected block | Backspace or Delete |
| Open or close Help | Command on Mac or Control on other keyboards/ |
With focus on a block handle, press Space to pick it up, arrow keys to choose its position and Enter to drop it. Escape cancels the move.
Explain your use of answers
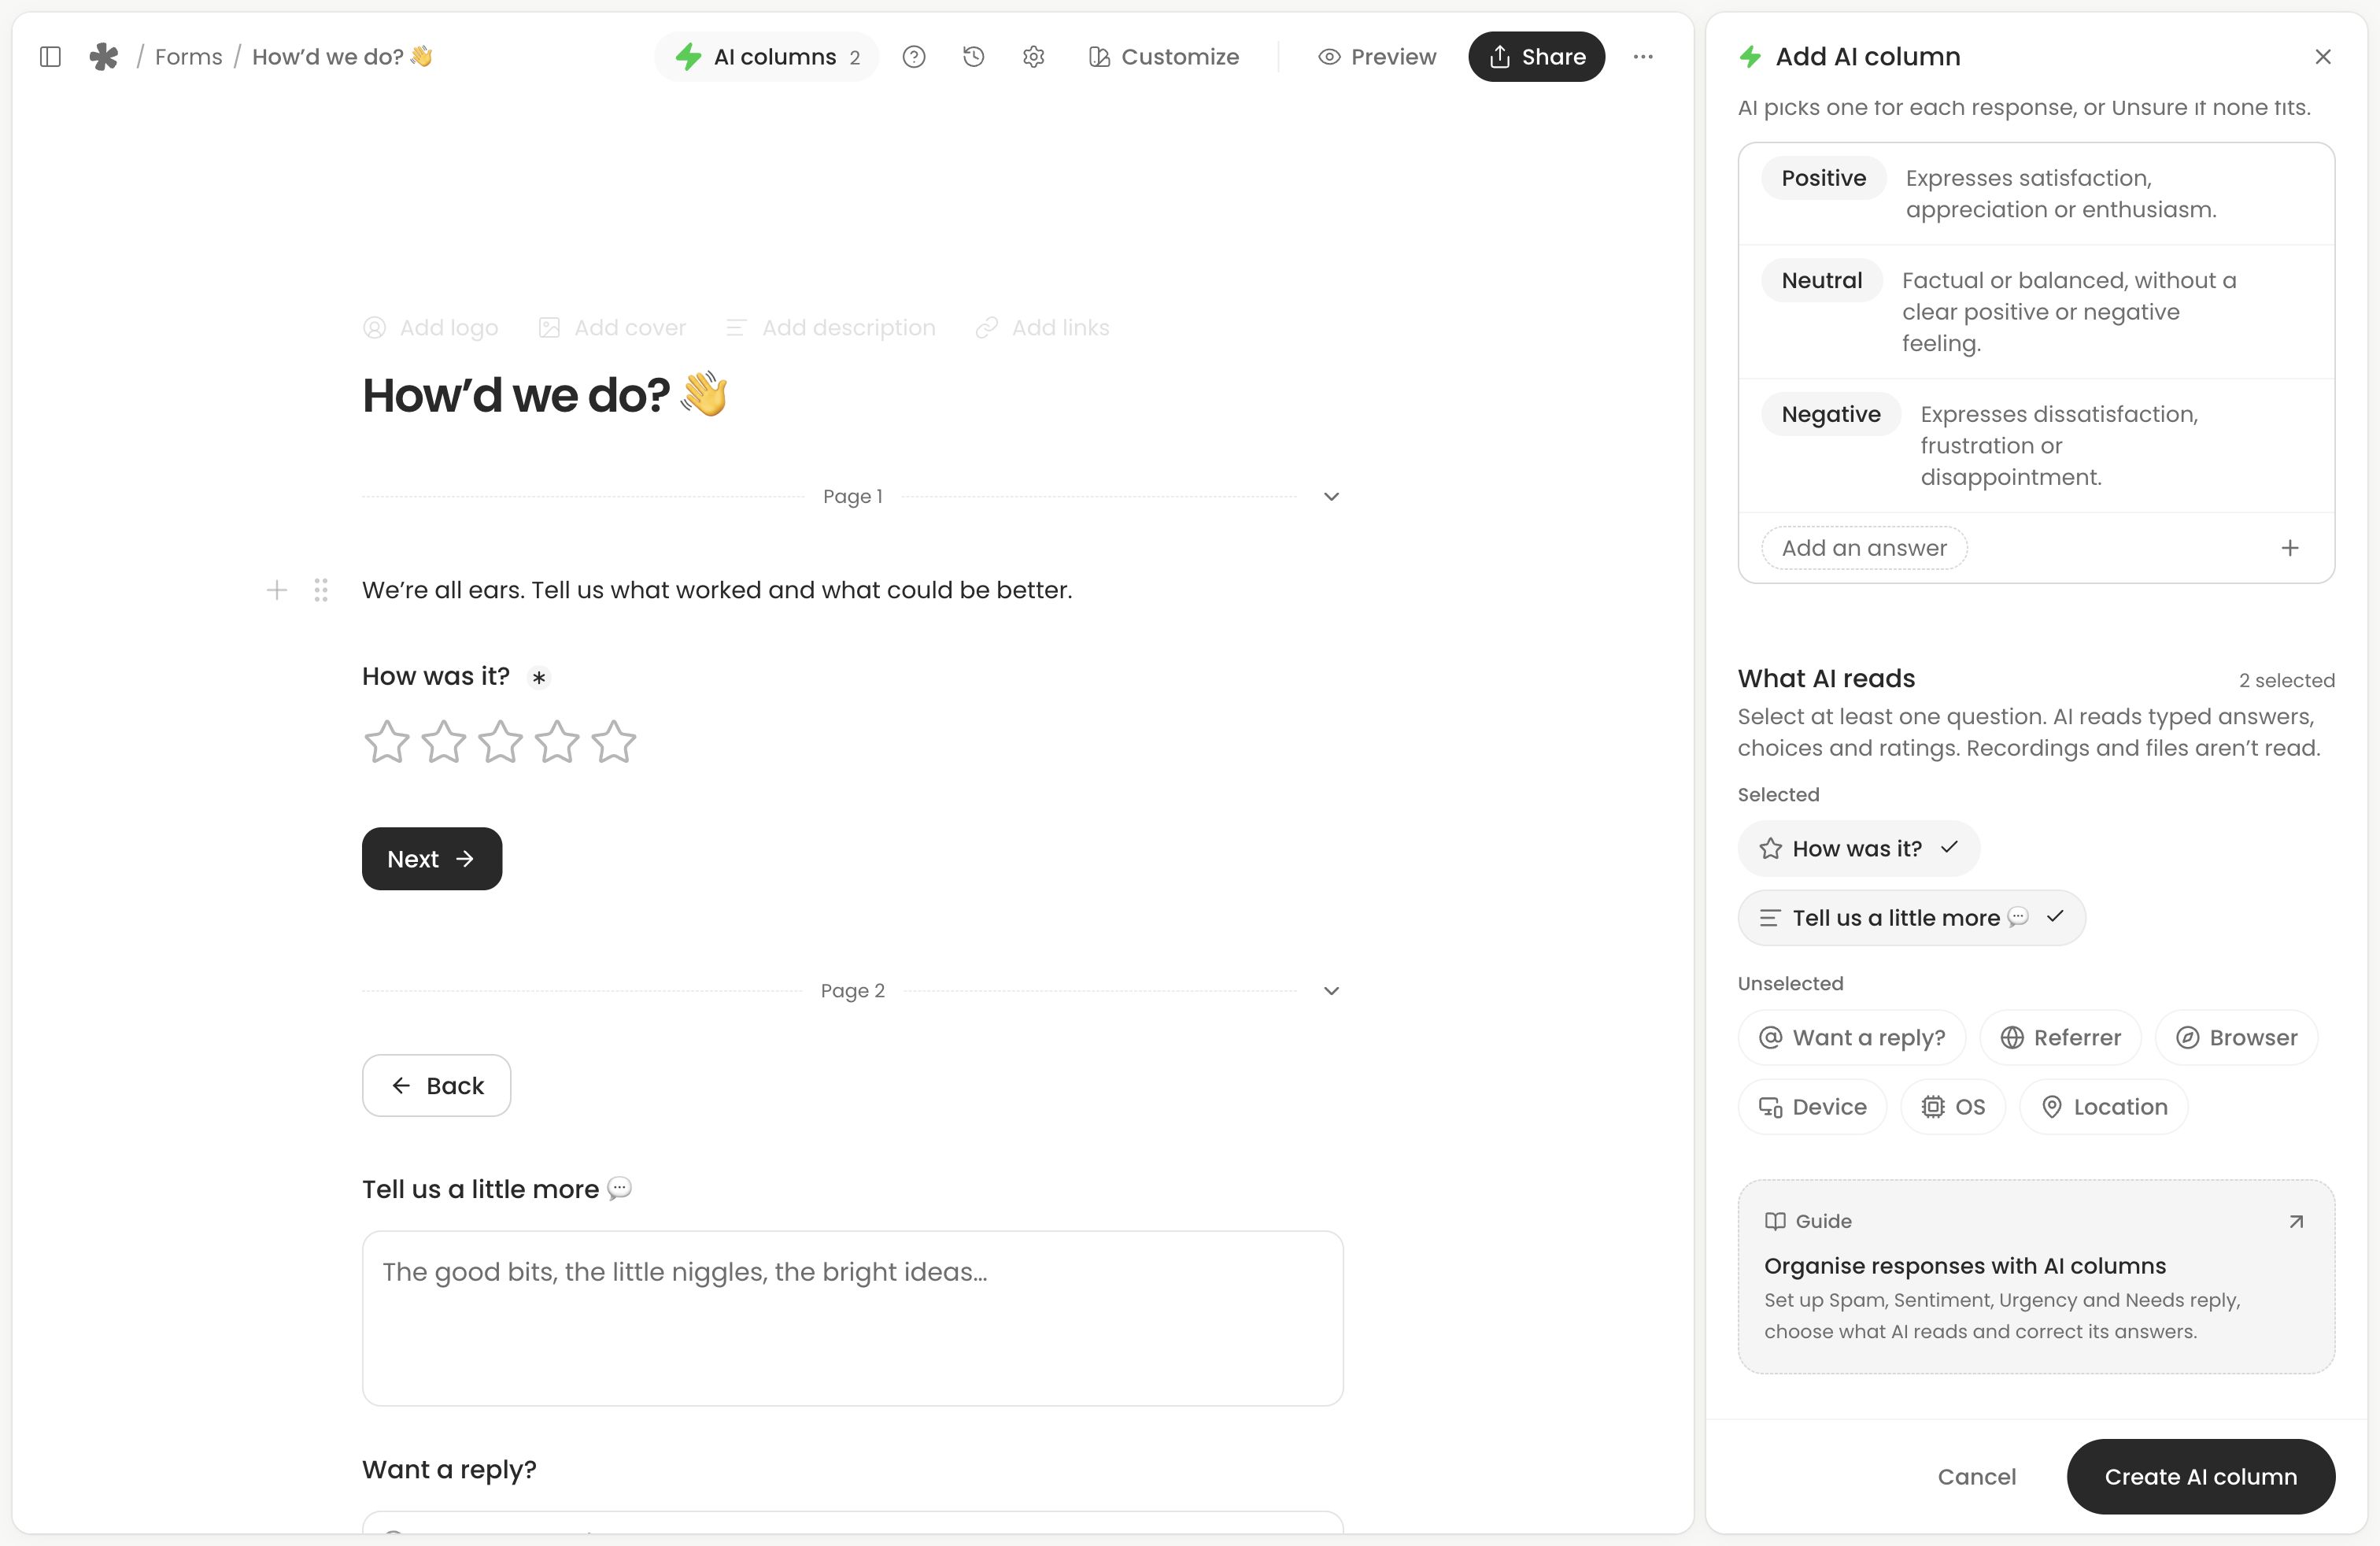
Tell people who will read their responses and whether you intend to publish any part of them. If you use AI columns, explain that selected written answers can be processed by AI. Ask only for details you need.
Saving and publishing
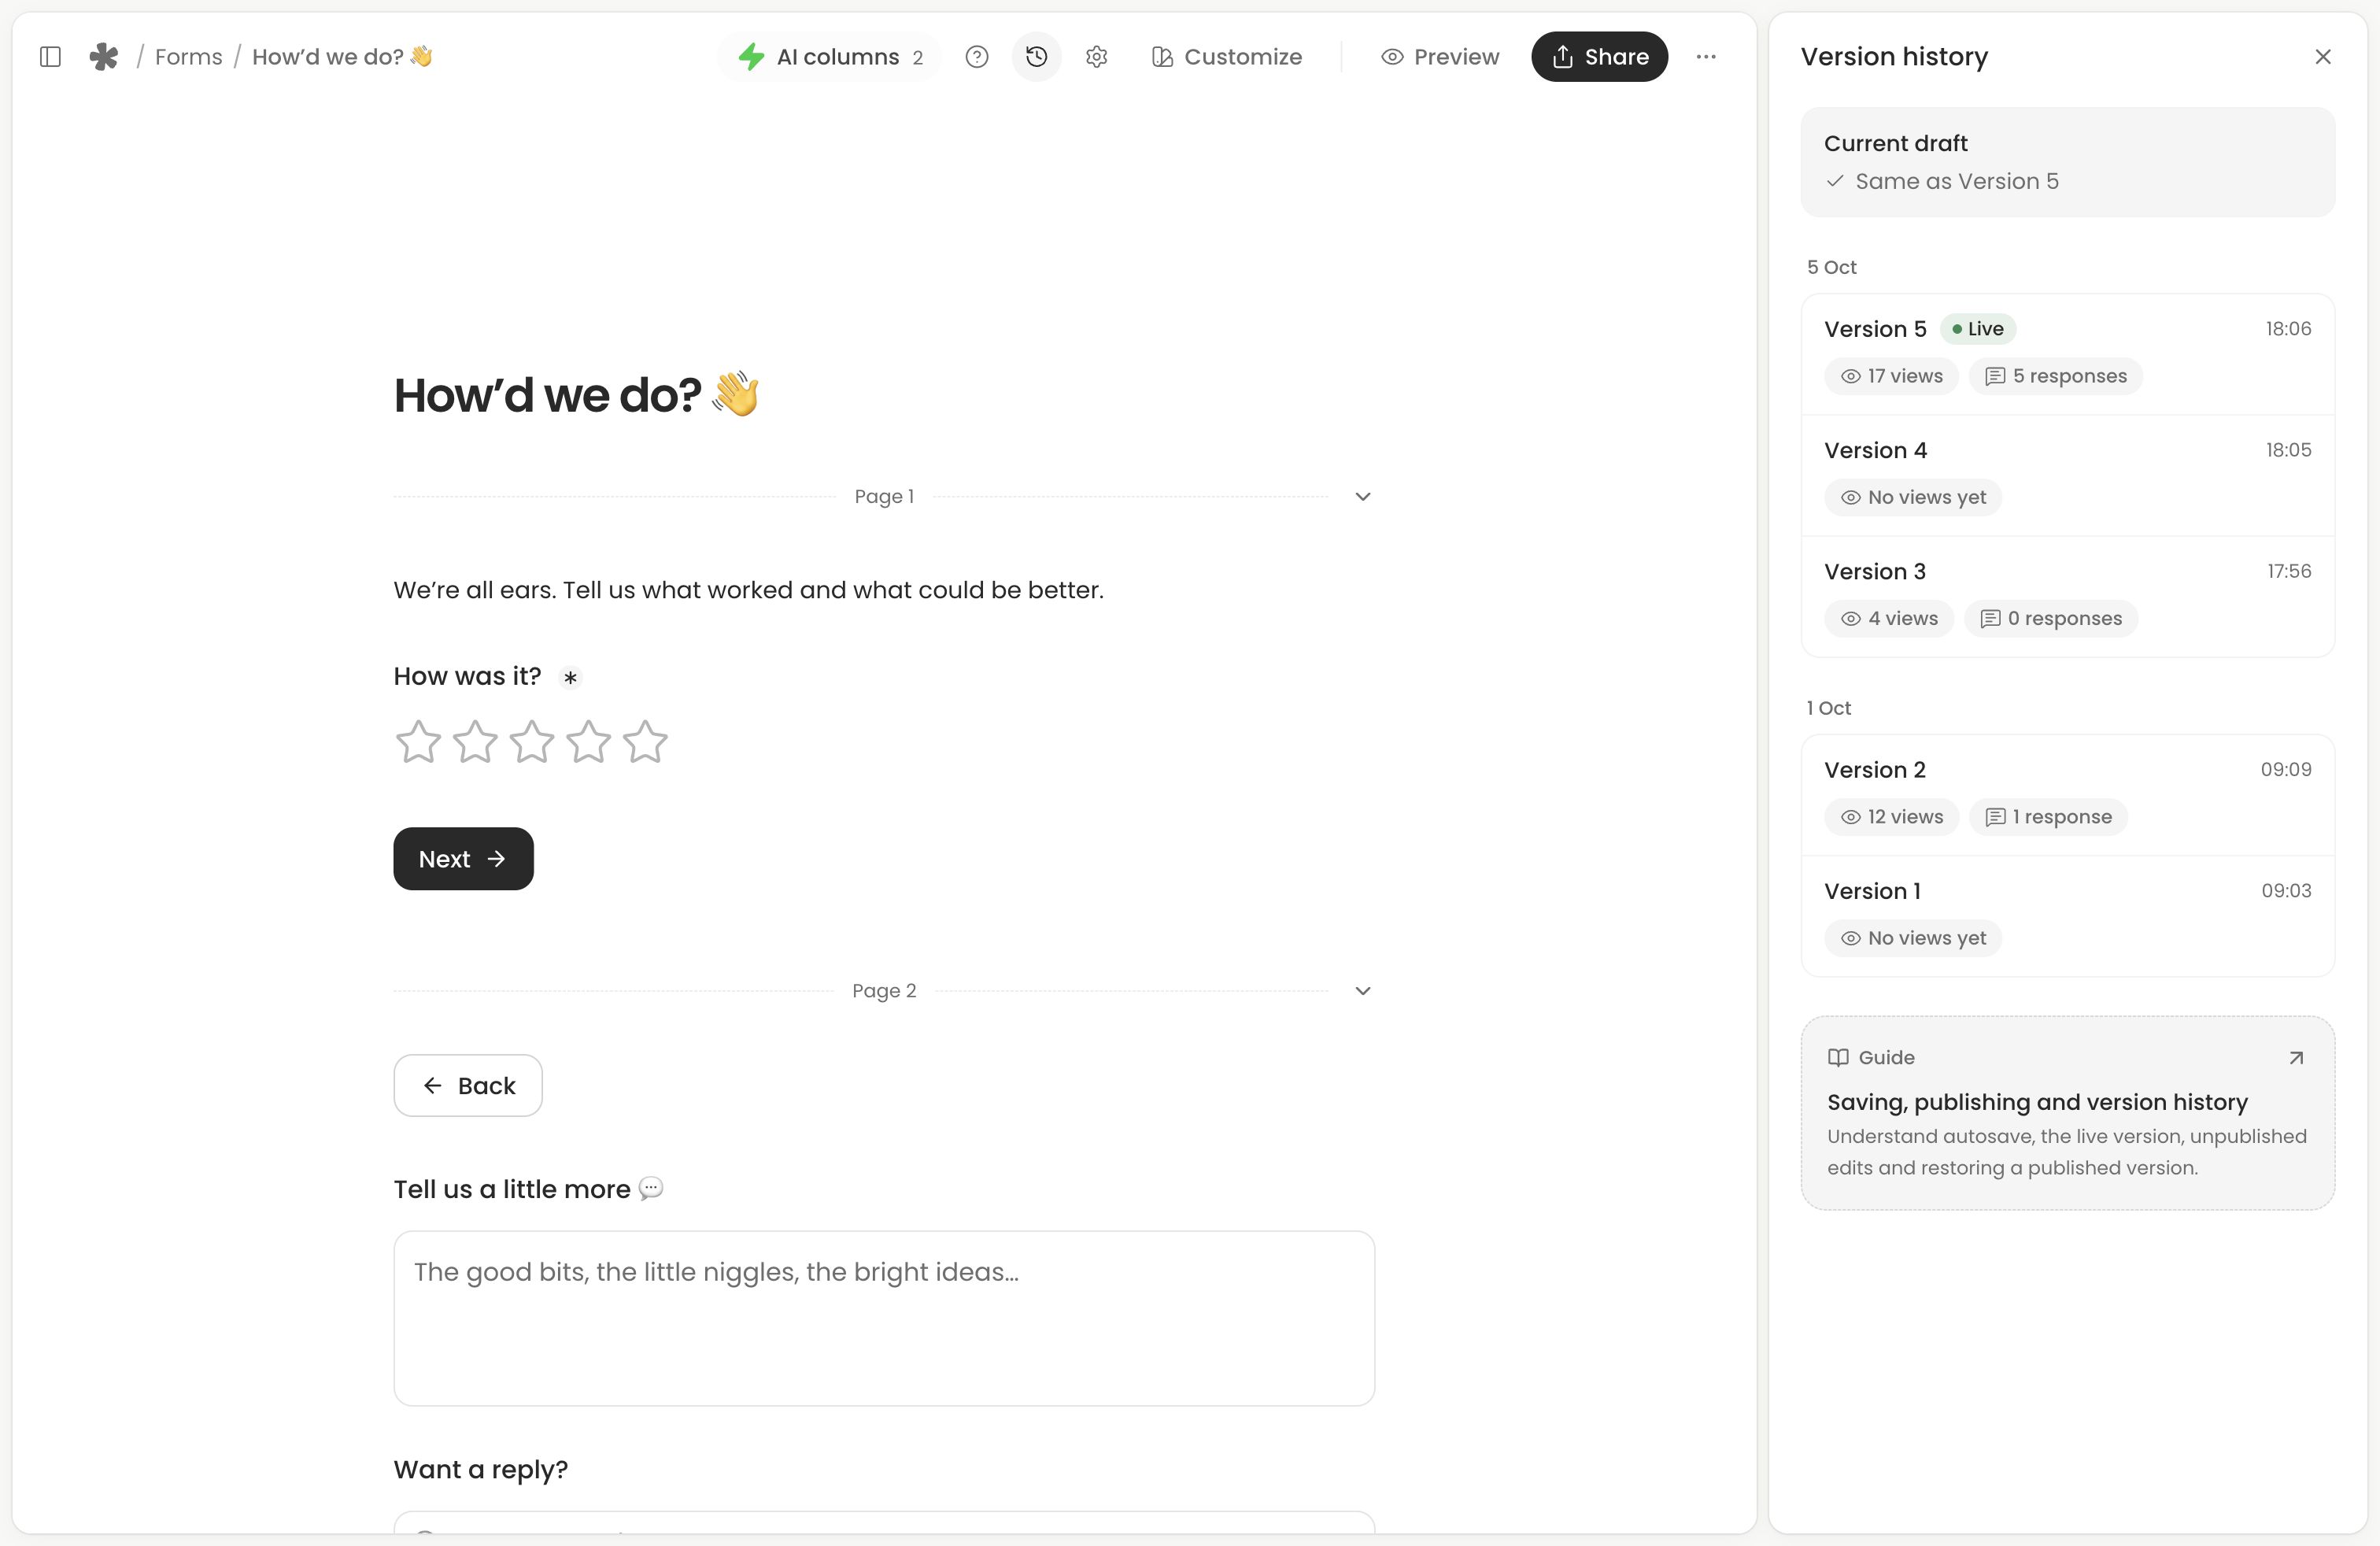
Your first meaningful save creates a live version. Later edits stay private until you publish. Preview lets you test current edits without saving a response. Share shows the published form and does not publish private edits. See Saving, publishing and version history for the full workflow.
Next action: Preview the form, publish it and submit one response through its live link.